



The House of October: An Art Nouveau Halloween Miniature Cottage

First Impressions in Miniature
I lived in France for a year after high school, and I will never forget discovering Art Nouveau through the Paris Métro. I had never seen anything like those entrances. Their sinuous, natural forms helped spark my love of design, and that fascination has stayed with me ever since.
Those extraordinary Métro entrances were designed by Hector Guimard. Alphonse Mucha speaks to the same love of flowing lines through his illustrations, decorative panels and floral compositions. This Art Nouveau Halloween miniature cottage brings those two strands together for me: architecture that seems to grow, and ornament that gives autumn its own personality.
The blue-green walls, warm windows and sweeping brown roof make an inviting little house before the pumpkins even enter the picture. Then the cats arrive. One has claimed the roof, another surveys the path, and a third appears in the glowing round window. Apparently, the architectural review committee is already assembled.
The purchased alternatives below use Amazon affiliate links; if you buy through them, it helps fund this tiny world. As an Amazon Associate I earn from qualifying purchases.
If you prefer a kit for a separate cottage project, the countryside cottage below offers another starting point. The scratch-build guide later in this post follows the Art Nouveau scene.

Miniature Backstory — The Tiny Tale
This is the House of October, where the last warm light of autumn is kept in a round window above the door.
Every Halloween, the cottage lent a little of that light to the pumpkins along the woodland path. No traveler ever needed to ask directions. They followed the grinning faces until they reached the blue-green walls, shook the leaves from their boots and found themselves exactly where they needed to be.
The arrangement worked beautifully until Bramble, the cat on the roof, decided the pumpkins were receiving too much attention.
“They have one expression,” he told Mallow, who occupied the low stone wall. “One. I have several.”
Mallow considered this. Bramble was currently using the expression he wore when breakfast was late. It was also the expression he wore when breakfast was early.
Inside the round window, their sister Soot watched the first lantern flicker. The wind had twisted a branch across the glass, breaking the beam that reached the furthest pumpkin. Beyond it, the path disappeared into leaves.
Bramble announced that this was a maintenance issue. Mallow announced that he was supervising.

Soot simply climbed onto the sill and pressed the loose branch aside with her paw. Amber light slipped through the curling tracery. One pumpkin brightened, then another, until the whole little procession shone again.
A late hedgehog emerged from the darkness carrying an enormous leaf on his back. He bowed solemnly to every pumpkin, mistook Mallow for a particularly elegant doorstop, and went inside.
Bramble came down from the roof.
“I was about to do that,” he said.
“Of course,” said Soot.
The cottage settled into its evening glow. The wind moved through the trees, the pumpkins kept smiling, and Mallow remained at his post in case anyone else needed directions.
By morning, he had been thanked twice, stepped around seven times and promoted himself to Head of Arrivals. Bramble applied to be Head of Departures. It sounded more important, and required considerably less welcoming.
Look up at the little black cat on the roof: Bramble has already returned to his preferred office.
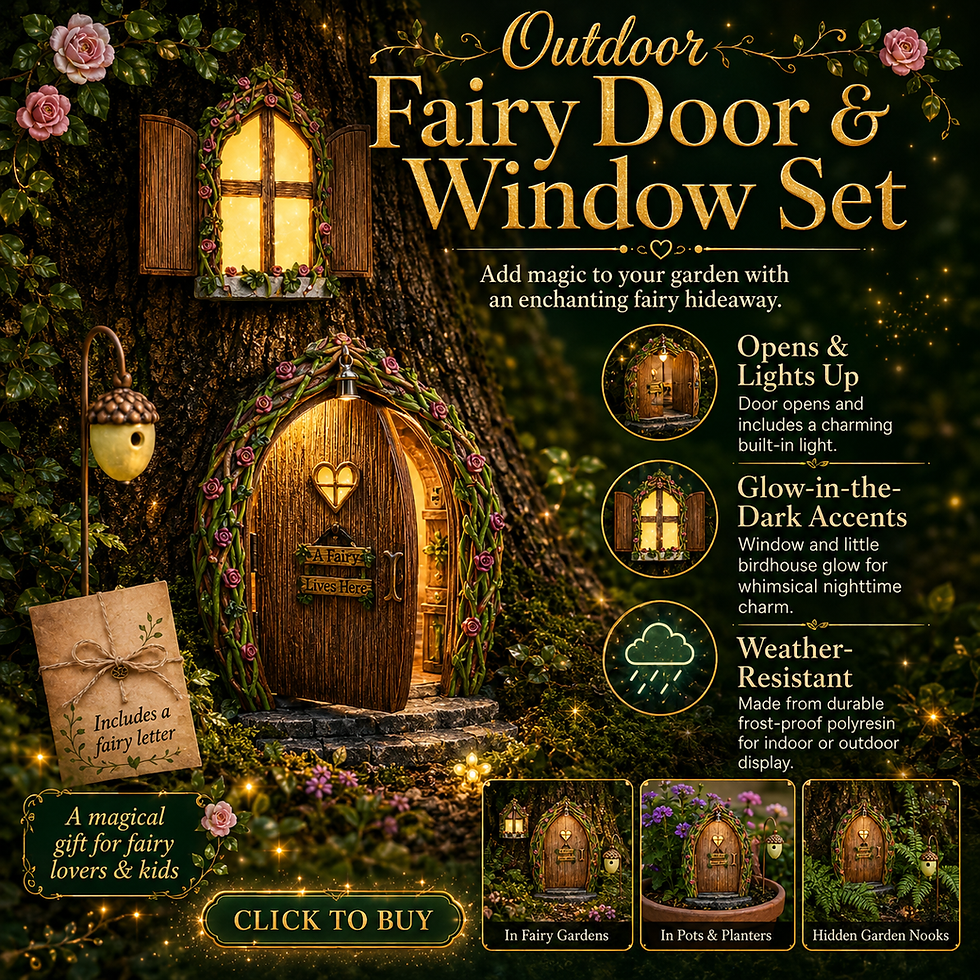
A separate fairy door can bring a similar woodland welcome to a garden display, even without building an entire cottage.

A Guided Tour of the Build
A roof that carries the whole silhouette
My eye goes first to the long, curling roof. Its uneven sweep links the smaller left wing to the tall front gable without making the cottage feel like two unrelated buildings. Rows of little brown tiles follow that movement. The black cat near the ridge adds a wonderfully unhelpful quality-control inspector.

Amber light behind curved frames
The three tall windows on the left repeat a narrow, rounded shape. Their amber glow is strongest against the cool wall color, while the orange flowers beneath them continue the warmth outside. The small oval dormer above is a quieter echo, keeping the upper roof from becoming a blank expanse.

The round window and double doors
The tall right-hand front is the focal point. Its round upper window contains a cat silhouette, a bat and a curling tree-like shape. Below, the double doors and branching trim carry that same ornamental rhythm downward. I like how the curves connect the openings instead of treating each window as an isolated decoration.

A path with something to discover
The stone path, low wall, moss and scattered leaves make the scene feel settled into its woodland. Pumpkins sit at different heights rather than forming a rigid row. The second outdoor cat balances the one above, giving the eye a reason to travel from roof to ground. Keep that small movement in mind if you make your own version.

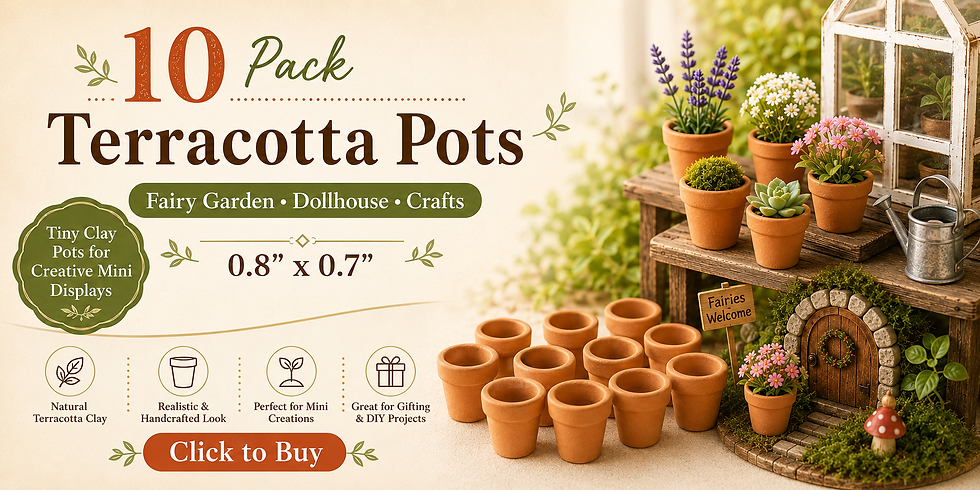
Small terracotta pots are an optional way to extend the autumn planting around your own cottage. Check their dimensions against your chosen scale.
Inspirations — From the Big World to the Small
Guimard's growing architecture
Hector Guimard's Métro entrance in MoMA's collection, dated around 1900, combines painted cast iron, glass and glazed lava. Its plant-like curves are a useful reference for the cottage's branching frames and railings. The connection here is visual inspiration, rather than a claim that this fantasy house reproduces a Guimard building. The House of Light and Leaves explores another miniature interpretation of flowing frames and planted terraces.
For a miniature, the lesson is wonderfully practical: give several details the same family of curves. Let a window arch, a railing and an eave share a gentle upward turn. Repetition makes the decoration feel intentional, even when the individual pieces are asymmetrical.
Mucha's autumn rhythm
Mucha's The Seasons series of 1896 offers another way into the scene. I love the relationship between decorative framing, plants and the feeling of a season. Here, autumn can shape the entire palette: muted blue-green, warm brown, amber and pumpkin orange, with darker outlines holding everything together.
The Tiny Tale illustration takes its cue from Mucha's decorative panels, translated into a storybook scene with the cottage's cats. It is a new illustration inspired by that visual language, not a historical Mucha work.
Make a small physical mood board before building. Pin down a leaf, a roof-color swatch, a sketch of a Métro-like curve and a few amber and blue-green samples. Keep the board focused on these relationships. A miniature can lose its character surprisingly quickly when every appealing material gets invited to the party.

Artist Tips — Make Your Own Magic
Build an Art Nouveau Halloween miniature cottage
The scene and AI-generated process illustrations suggest a practical interpretation, not a tested build or measured pattern. Materials and results will vary. Choose a scale before cutting; keep doors, windows and stairs consistent.
A manageable version is a shallow cottage façade with a short side return and a removable back. It gives you the sweeping roof, glowing windows and autumn garden without requiring a fully furnished house. Start with a paper mock-up, and keep a rear access route for lighting and repairs.
Supplies and useful substitutes
Structure: clean reclaimed packaging card for templates and small tiles; sturdy greyboard or craft chipboard for walls; a stable scrap-wood base; PVA glue suitable for your chosen materials.
Detail: save thin card and usable wood offcuts first; add basswood strips for straight frames, layered card for sweeping curves, thin craft wire for ornamental railings, and air-dry clay for pumpkins and selected stone textures.
Color and glazing: use suitable paints already on your shelf, or choose acrylic paints, a suitable primer, clean flat packaging plastic or clear acetate sheets, amber transparent film, and clear glazing glue tested on scraps.
Landscape: small pieces of reclaimed cork, clean dry twigs, paper leaves, scenic foliage flock and preserved craft moss. Keep natural finds dry and inspect them before bringing them into the model.
Light and tools: reuse serviceable tools you already own; for purchased lighting, choose a plug-and-play miniature LED lighting kit with warm light and its specified power supply, sharp hobby knife, scissors, cutting mat, tweezers, brushes and a sanding tool. Use eye protection when clipping wire and follow each material's label.
Use clean, sound reclaimed materials. Test unfamiliar plastics, paint and glue together on a sample before committing to the cottage.

1. Draw the silhouette and assemble the shell
Sketch the tall right gable, lower left wing and main openings on scrap paper. Cut a simple mock-up and view it from the same front three-quarter angle as the reference. Adjust the roof sweep now, while changing it only costs paper.
Transfer the approved shapes to greyboard. Cut openings with several light passes on a cutting mat, keeping fingers clear of the blade. Add corner tabs or internal card braces, then join the walls with a thin film of PVA. Support them square until the adhesive reaches its stated handling strength. Leave the back removable. Doubled packaging card is a workable substitute for small walls if you laminate it flat and allow it to dry fully.

2. Build the flowing roof in layers
Cut several matching curved ribs from card and attach them across the shell. Dry-fit a thin card roof skin over them; use narrow overlapping strips where a single sheet buckles. The ribs establish the shape, while the skin provides a surface for tiles.
Make small tiles from cereal-box card and glue them in overlapping rows from the eaves upward. Stagger the joints and preserve the flowing outline. Add the oval dormer and a simple hollow card chimney while access is easy. Let each section set before turning the model. For an easier first version, use fewer, slightly larger tiles rather than forcing tiny pieces around every curve.

3. Give the walls and path their texture
Brush a thin, compatible acrylic texture layer onto the wall faces, keeping the openings and glue joints clear. Test it on your card first: too much water can warp a lightweight shell. A lightly stippled primer can suggest plaster without a thick coating.
For the path and low wall, arrange small cork pieces on the base before gluing. Leave irregular joints, but keep the route to the doors legible. Thin air-dry clay slabs are an alternative; shape them separately and dry them before installation. DAS is an air-hardening material, so follow your package's drying guidance rather than baking it like polymer clay. Thickness and conditions affect readiness. Do not trap a damp clay piece under paint or glue.

4. Shape the timber curves and frames
Trace the main front curve onto paper, then cut matching strips from layered card. Laminate them flat and glue the dry shapes around the tall gable and doors. Use basswood for the simpler straight window frames, with card arches above. This avoids trying to bend a brittle strip into an impossible curve.

Keep trim thickness consistent across the façade. Dry-fit everything, checking that glazing can still slide into place from behind. Attach the pieces with an adhesive suited to both surfaces and let the joints set undisturbed. Rolled paper strips can substitute for finer raised ornament; use them sparingly so the building still reads clearly from a distance.

5. Make the curling railings and door tracery
Draw a few broad S-curves on paper and bend soft craft wire to match them with pliers. Make separate short sections for the stair railing rather than one elaborate, fragile piece. Keep cut ends turned inward or safely covered, and wear eye protection while clipping.

Join sections using an adhesive rated for the wire and support material, following its ventilation and cure instructions. Set the railing aside for painting and later fitting. Fine card silhouettes are an easier substitute for the door tracery: cut the broad curves first and omit details that become too delicate. The goal is a readable plant-like rhythm, not a miniature tangle.

6. Paint the cool walls and warm roof
Prime the prepared surfaces with a product compatible with the card, wood and texture medium. Once it is ready for overpainting, work in thin acrylic layers: blue-green walls, brown roof and timber, then muted gray-brown stone. Let each layer dry before adding the next.

Dry-brush a lighter color across tile edges and stone faces, leaving the recesses darker. Use restrained brown-green shading near the base rather than covering every surface in black wash. If you use a glazing medium, follow its own instructions; GOLDEN Glazing Liquid is intended for thin applications. Paint a spare tile first to judge the dry result. Ordinary thinned acrylic paint is a simpler option when you do not need an extended blending time.

7. Add amber glazing and silhouettes
Cut clear acetate slightly larger than each opening, then test amber transparent film behind it. Hold the sample in front of your intended light to judge the color. A painted orange window can look cheerful in daylight but may block too much light when illuminated.

Cut the round window's cat, bat and curling branch from dark paper, simplifying them until they remain recognizable at your chosen scale. Fix these onto the glazing with a tested, sparing adhesive. Install the completed panels from the inside after the surrounding paint has dried. Clear packaging plastic is a useful substitute if it is flat and unclouded. Test your glue first; some adhesives fog or distort clear material.

8. Install accessible warm lighting
Test a complete low-voltage LED kit with the power supply specified by its maker before placing it inside. Arrange the lights behind the windows rather than directly against the glazing, and add a small opaque internal baffle if individual bright dots show through. Follow the kit's spacing and installation instructions.
Route wires through the access opening, protect them from sharp edges and keep the switch and battery compartment reachable. Do not bury connections in wet scenery or permanently seal the back. Use only the supplied or specified components; do not improvise mains wiring. If lighting feels like one complication too many, use amber backing behind the windows and make this an unlit daytime model. Real candles have no place in this paper-and-wood cottage.

9. Add pumpkins, cats and the final trim
Shape small pumpkins from air-dry clay, pressing shallow grooves around each form and adding a tiny stem. Make several sizes, then let them dry according to the product instructions before painting. Painted dark faces are easier than carving delicate hollow lanterns. They can suggest the reference without requiring lights inside every pumpkin.
For the cats, use small sculpted forms or clean card silhouettes with a curved tail and distinct ears. Place one on the roof and one by the low wall; keep the window cat flat against the glazing. Fit the painted railings after nearby handling is finished. Purchased miniature pumpkins and cats are sensible substitutes if sculpting would hold up the whole project. For a few smaller additions, the miniature Halloween decorations guide explores seasonal details made largely from household materials.

10. Settle the cottage into its autumn garden
Arrange the cottage, stones, pumpkins and tree before fixing the last elements. Preserve an open path to the door. Add fine moss in selected joints and around the wall base, then build the flower boxes from small clusters of orange model foliage. Use less than you think you need; oversized clumps can swallow the windows.

Glue a few paper leaves individually to the path, with denser drifts at the edges. Keep wet scenery materials away from electrical parts and allow adhesives to dry fully before switching the lights on. A dry twig with restrained foliage can suggest the large framing tree without hiding the front. For a simpler display, stop at the low wall and let a painted backdrop imply the woodland. The William Morris cottage offers another take on a mossy garden and warm windows.

11. Photograph the miniature at its own eye level
Set the finished cottage on a stable tabletop with a curved paper backdrop behind it. Place a camera or phone low enough to meet the doors, facing the front at a gentle three-quarter angle. A tripod or steady support helps you compare small changes without moving the viewpoint.
Use a soft side light and a white card on the opposite side to lift shadows. Switch on the interior LEDs, then reduce the external light gradually until the windows glow without losing the wall detail. Move the light or camera slightly if the glazing reflects a bright rectangle. Take one full view and separate closeups of the roof, windows, round front and path. Avoid relying on a heavy blur effect to create scale; careful framing and visible texture do more useful work.

Small problems, simple fixes
Warped walls: reduce wet coatings, laminate thin card flat before assembly, and add internal braces. Avoid forcing a distorted wall into place.
Stiff-looking curves: simplify the outline and repeat one or two generous S-shapes. Tiny extra curls rarely rescue an awkward main silhouette.
Harsh window dots: move the LED back or add a safely positioned opaque baffle, following the kit instructions. Recheck access before closing the back.
Muddy autumn color: reserve the strongest orange for pumpkins and flowers, then keep walls, stone and foliage quieter.
Glossy toy-like surfaces: compare finishes on scraps and use matte paint where appropriate. Leave any deliberate glazing shine confined to the windows.
Closing — Until Next Time in the Small World
What stays with me is the way a curve can change the feeling of a place. That first encounter with the Paris Métro opened something up for me, and I still find the same pleasure in Art Nouveau's natural forms. In this cottage, those lines lead us from a tiled roof to an amber window, then down to a path full of pumpkins.
If you made your own House of October, what would you put in the round window? A cat, a moth, a moon, or something the Head of Arrivals has not approved yet? Tell me in the comments, and share your own autumn miniatures with #smallworldminiatures. I would love to see how you interpret those curves. You can also join the newsletter through the signup form at Small World Miniatures and browse the online shop between projects.







Comments