


An Imagined Georgia O’Keeffe-Inspired Miniature Art Studio

My Vision for This Small World
My Georgia O’Keeffe-inspired miniature art studio is an imagined retreat where color reaches from the building into the garden. Orange, blue and gold sweep across the upper wall, with turquoise arches framing the rooms below. The stepping-stone approach gives the planted terrace an inviting route indoors. I’ve brought these elements together as a playful studio concept, rather than a reconstruction of O’Keeffe’s home; the mural is imagined decoration, not a reproduction of one of her paintings.
Some links earn me a commission from qualifying purchases and help keep this tiny world growing. As an Amazon Associate I earn from qualifying purchases.
For a little inspiration beyond the worktable, Britta Benke’s O’Keeffe offers a closer look at an artist with such a distinctive eye for shape and color. It makes a lovely addition to a creative bookshelf.

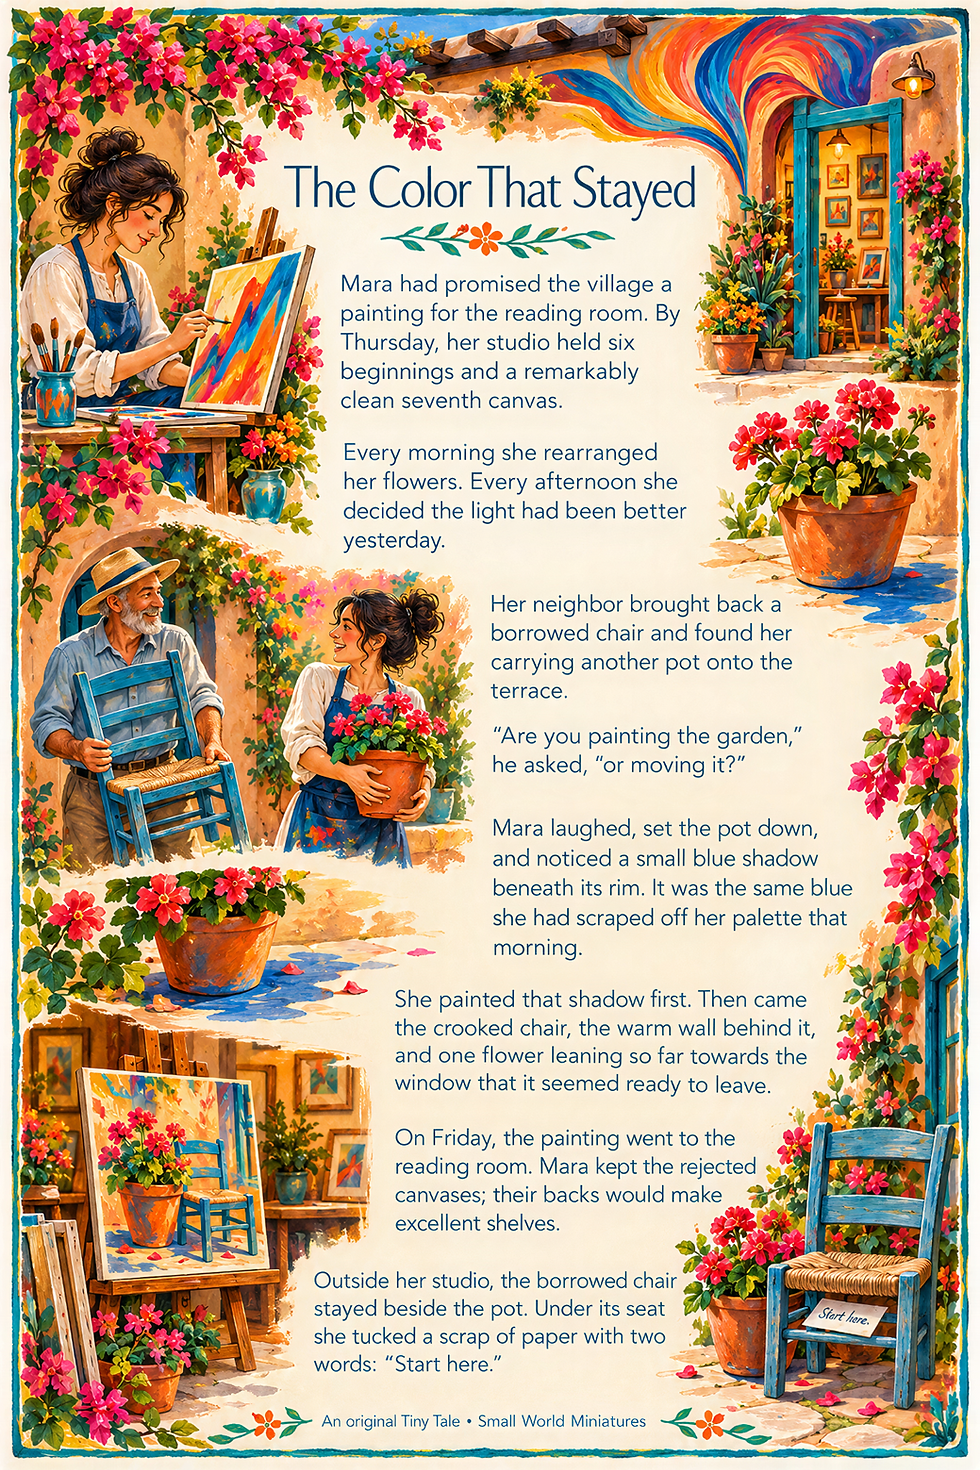
Miniature Backstory — The Tiny Tale
A Guided Tour of the Build
Turquoise arches and warm walls
The windows do a lovely job of organizing a busy scene. Their deep turquoise frames repeat across differently shaped openings, tying the left doorway to the larger room on the right. Against the pale, plaster-like walls, the cool color feels crisp without needing a stark outline. Rounded corners soften the architecture; heavy timber details give it some weight.
The left arched window and its surrounding wall reward a closer look. That small area contains the main material conversation: smooth glazing, painted framing, rough-looking render and dark wood. It is also a useful reminder that a convincing miniature can get plenty of character from a few well-chosen surfaces.

A mural beneath the eaves
The upper gable is practically a second landscape. Broad colored curves fill the wall, and dark roof edges keep them contained. Smaller artworks inside the lower room repeat the idea at a gentler volume. I would let that large mural remain the visual anchor rather than giving every wall an equally elaborate painting.
The upper gable shows how much the timber edge matters. Take it away in your imagination and the mural risks running into the background; leave it in place and the wall reads as part of a building.

A garden with room for a chair
Cacti, rosette-shaped plants, flowers and little trees crowd around the terrace. This is fantasy planting rather than a botanical record of one New Mexico garden. The variety works visually because taller shapes frame the building while low plants leave portions of the route open.
The stepping stones lead into the right-hand terrace. A chair, pot and patch of bare paving can do as much storytelling as a fully furnished room. Leave a little empty ground around them. It gives the tiny resident somewhere to walk and the viewer somewhere to imagine a pause.

Inspirations — From the Big World to the Small
The real history provides a useful grounding. The Georgia O’Keeffe Museum’s account of her homes explains that O’Keeffe purchased the ruined Abiquiú property in 1945; its restoration was carried out by Maria Chabot, and O’Keeffe made Abiquiú her permanent home in 1949. The museum describes traditional adobe construction alongside her interest in modern interiors and natural light. Those are productive subjects to study when planning softened walls, deep openings and a bright working room. The elaborate two-level building here remains an imaginative departure.
Rolife’s Dreamy Garden House is a lovely addition for anyone who loves miniature greenery. Its garden-under-glass setting invites you to linger over the details and make a little room for plants in your collection.

There is also a broader artistic connection. The Smithsonian American Art Museum’s artist biography discusses O’Keeffe’s joining of abstraction and representation. For a miniature maker, that suggests a useful exercise: look at a leaf or a shadow, then simplify its shape before painting it. You can explore that approach through your own imagery without copying a famous canvas or claiming her authorship.
Build a small inspiration board around warm earth and turquoise swatches, textured materials, and your own studies of leaves or petals. These simple references help tie the walls, mural and garden together without making every surface compete for attention.

Artist Tips — Make Your Own Magic
This AI-assisted illustration lets a little artistic daydream take shape. Use the guide to explore your own studio, adjusting the design to your materials and trying unfamiliar finishes on scraps first.
Planning your miniature art studio
A suggested 1:24 scale makes this an approachable display project. At that scale, one inch represents two feet. A doorway about 84 millimeters tall would represent a roughly two-meter opening; choose one doorway dimension and use it to check the furniture and planting throughout. These are planning suggestions, not measurements taken from the illustration.
Allow a base around 300 by 250 millimeters if your shelf can accommodate it. Mock up the building within that footprint before cutting anything substantial. I would treat this as an intermediate project because the curved openings, layered surfaces and small furnishings need patience. A simpler single-room version can keep the same palette and garden while avoiding the upper floor.
The essential tools are a cutting mat, sharp craft knife, metal straightedge, scissors, pencil, small clamps, sanding block and a few brushes. A small hand drill is useful for an LED cable opening. Keep the work well lit and reserve one tray for dry-fitting pieces so a tiny window frame does not vanish under the offcuts.
Give your tiniest details a little more attention with a magnifying desk lamp. It is a thoughtful gift for a miniature maker who enjoys the close-up work that brings a scene to life.

Gather the supplies
Structure: clean, flat packaging board works for trial walls and templates; purchased book board or suitable thin plywood offers a sturdier final shell. Choose a base that will stay flat under the finished model. Do not rely on a single flexible sheet of cereal-box card for the entire landscape.
Wall finish and color: a light application of water-based filler can create a plaster-like finish on a compatible, sealed surface. Purchased miniature texture paste is another option. Add matte acrylics in warm cream, terracotta, turquoise and dark brown, plus a small selection for the mural. Follow product guidance for compatibility and curing.
Windows and timber: clean clear packaging can become glazing if it cuts safely and lies flat; craft acetate is the predictable alternative. Reuse smooth wooden coffee stirrers for beams or buy basswood strip. Avoid splintered or contaminated scraps.
Furniture and planting: card offcuts, paper, thread and small wooden pieces cover most furnishings. Use paper leaves and painted card pots before considering specialist foliage. Purchased miniature plants can supply a few focal shapes without filling every corner with identical clumps.
Give a little doorway or garden wall a romantic flourish with Aorvoras miniature rose vines. I love how a trailing stem can make even a simple corner feel like it has been growing for years.

Lighting and assembly: use a ready-made low-voltage LED kit with an accessible switch and battery holder, water-based craft adhesive appropriate to your surfaces, and removable tape for positioning. Keep loose batteries, blades and small pieces away from children and pets. Nothing in this build needs a real flame.

1. Set out the terrace and working shell
Draw the footprint on scrap paper first. Place paper rectangles for the two main rooms, the right annex and the terrace. Mark the route from the steps to the door, then place a pretend chair beside it. If the furniture blocks the entrance, adjust the plan now rather than after the walls are glued.
Make a temporary shell from packaging board. Stand it on the base and check the view from your intended display height. The upper wall should be visible above the lower rooms, while the right-hand opening should still reveal something of the interior. Keep the back or one roof section removable for furnishing and maintenance.
Transfer the tested shapes to your chosen structural material. Cut on a stable mat, using controlled passes with your hands clear of the blade path; follow the material and tool maker’s guidance. Dry-fit everything before gluing. Brace the shell square while the adhesive cures as directed. The result should be a plain, dependable structure with space reserved for the landscape.

2. Form the arches and soften the walls
Draw each arch on a separate card template and test it against the shell. Matching the frame to its opening is easier when both come from the same template. Use layered card to build depth around an opening rather than trying to carve a deep arch from one awkward piece.
For the wall surface, first check that your chosen coating adheres to a scrap of the structural material. Seal or prime where the manufacturer recommends it. Spread a thin layer of compatible filler or texture paste, keeping the window edges clear. Several restrained applications are easier to control than one heavy coat that obscures the architecture.
Once fully cured, smooth any distracting ridges and remove dust safely. Paint a warm pale base, then add a slightly deeper earth tone near recesses. Keep the variation subtle. An easier alternative is painted heavyweight paper wrapped around the shell, with separate strips forming rounded-looking corners. Either route should leave the openings crisp enough to accept the frames.

3. Paint the frames and glaze the openings
Build window frames flat on a protected work surface using card strips or thin wood. Paint them turquoise before adding the clear sheet. This keeps brush marks off the glazing and lets you tidy the inner edges while they are still accessible.
Cut clear material with an appropriate tool, following its handling instructions; sharp edges need care. Make each pane slightly larger than the opening so the join hides behind the frame. Test a small amount of compatible adhesive first, since some glues haze clear plastic. Avoid flooding the seam.
Try the finished window against the wall before fixing it. Deepen the reveal with a narrow dark painted strip if the frame seems to float on the surface. For a simpler version, leave one large opening unglazed and concentrate on a convincing doorway. The visible result you want is a cool, clean frame sitting inside a warm, substantial-looking wall.

4. Give the upper wall its own painting
Cut a removable card panel to fit the gable and sketch an original composition on it. I would begin with three broad curves: one warm, one cool and one lighter passage between them. Check it against the building from a distance before adding smaller marks.
Paint on the flat panel rather than reaching around roof beams. Let each layer dry according to the paint instructions so the next color stays distinct. A few repeated shapes will read more clearly at this size than dozens of tiny details. Keep the largest contrast near the center and quieter color near the timber edges.
Keep your favorite little color mixtures close at hand with the Army Painter wet palette. It is a useful addition to a miniature-painting setup, especially when an afternoon of details turns into one more tiny touch-up.

Mount the completed panel only after both wall and painting are dry. Add the dark trim afterwards to create a neat border. If painting is intimidating, make your own cut-paper collage and seal a test piece before installation. Give this imagined studio artwork of your own; the little wall is a lovely place to let your shapes and colors wander.

5. Fit beams, furniture and miniature canvases
Cut timber details to a consistent width, checking their size against the doorway. Sand exposed ends gently and paint or stain with a suitable water-based finish. Test that finish first; real wood can absorb color unevenly. Fit the beams after the wall finish has cured so their dark edges stay clean.
For furniture, start with one table, a stool and an easel. Card rectangles make tabletop mock-ups; wood strip can replace them once you like the arrangement. Keep the easel away from the doorway and turn one canvas slightly towards the light. Small painted card panels can suggest work in progress without requiring legible miniature masterpieces. For another take on furnishing a creative room, explore The Rosy Studio.
I would make Mara’s chair a little more individual than the rest: a curved back cut from layered card, perhaps, or a warm color echoed in the mural. Add the “Start here” note beneath its seat as a deliberate story detail. It is a small keepsake from our story that you can bring into your own version.

6. Bring a gentle light into the rooms
Plan the cable route before the interior is crowded. Use a complete low-voltage kit suited to miniature displays, and follow its instructions without altering the power supply or mixing components. Make any cable passage with the shell supported securely. Check for rough edges that could damage insulation.
Test the lights before fixing them in place. Conceal the cable behind a beam or removable wall lining, leaving the switch and battery holder reachable. A small shade can soften the look of the fitting, but it must not trap heat or interfere with the manufacturer’s clearance requirements. Never substitute a real candle.
Try the scene under room lighting as well as in dim conditions. A restrained glow should reveal the easel and frames without turning the openings into bright white patches. If illumination complicates the project, use pale interior walls and a reflective photographic lighting arrangement instead. The studio can feel welcoming without an electrical installation.

7. Plant the edges and finish the path
Set the large planting shapes in place without glue. Keep taller trees towards the sides and preserve a clear view through the main opening. Paper rosettes, rolled-paper cactus forms and small painted pots can echo the illustration while remaining your own stylized garden.
A few tiny terracotta pots can make a miniature garden feel wonderfully lived in. Gather them on a doorstep, tuck them beside a bench or fill a shelf with your favorite little plants.

Build the path from thin card shapes or a compatible modeling material, making sure the pieces sit securely on the base. Paint them before adding loose scenic texture. Use adhesive sparingly and follow the product’s instructions so grit does not scatter into the room or switch. Keep the base edge clean; it helps the whole display look deliberate.
Add flowers in small groups, repeating a few colors from the mural. If you would rather carry those flowers indoors, the guide to miniature hand-painted floral patterns offers another decorative direction. Stop occasionally and look from farther away. If every patch competes for attention, remove a cluster rather than adding more. Finish with the chair and pot near the terrace, leaving room for Mara to change her mind about their position tomorrow.

Photographing the finished scene
Place the model in front of a simple curved backdrop and bring the camera down towards window height. Soft light from the side will describe the wall texture; a white card opposite can lift deep shadows. Keep lamps safely away from paper and foliage, and avoid balancing equipment on the model.
Take one wider view, then the three guided-tour details: the turquoise arch, upper mural and terrace path. Move the light or camera to manage reflections in the glazing rather than wiping at a glued-in pane. Check the frame for stray tools and background edges before shooting. A slightly higher angle can explain the terrace layout, while the lower view makes the room feel inhabitable.

When a small detail needs another try
A wall panel bows: let it dry fully, check the support, and remake or reinforce it before adding more wet texture. Test thinner coats on a spare panel.
Window glazing looks cloudy: test a different compatible adhesive on an offcut and replace the affected pane if possible. More glue will rarely improve it.
The mural overwhelms the rooms: reduce detail around its edges and repeat only one or two of its colors below.
Plants hide the entrance: move the tallest cluster sideways and leave a visible strip of terrace leading to the door.
The room photographs as a dark hole: open the removable back for a controlled light test or add an external reflector, keeping the interior arrangement intact.
Closing — Until Next Time in the Small World
The detail I would keep is that chair beside the pot. After all the painting, shaping and planting, it gives this busy miniature somewhere quiet to settle. Mara finally found her starting point there; a model maker could do worse than begin with one corner they genuinely want to spend time looking at.
What would you put on the easel: a garden study, an abstract painting, or something completely unexpected? Share your version with #smallworldminiatures. You can browse more ideas in the Small World Miniatures shop or join the newsletter for another visit to the small world.








Comments