


The Ridge That Wasn’t: A Martian Garden Home Miniature

My Vision for This Small World
My Martian garden home miniature brings a planted living room into a silver-framed sphere. Beyond the curved glazing, rusty ground stretches toward distant hills; inside, cream cushions and books give the scene a familiar domestic scale. The garden shelf adds a green horizon above the seating, with the circular opening gathering everything into view. I’ve combined those elements in a science-fiction home where the plants appear to have settled in remarkably well ahead of the residents.
Some links earn me a commission from qualifying purchases and help keep this tiny world growing. As an Amazon Associate I earn from qualifying purchases.
A few tiny terracotta pots can make a miniature garden feel wonderfully lived in. Gather them on a doorstep, tuck them beside a bench or fill a shelf with your favorite little plants.

Jump to the build guide or browse the supplies. The essential arrangement is simple enough to sketch: a generous circular opening, a level lounge floor, a garden shelf above and a clear view between them. Keeping that view open matters more than reproducing every little frame joint.
Miniature Backstory — The Tiny Tale


A Guided Tour of the Build
A round window with a silver outline
The enormous circular front opening gives the sphere a strong face. Its dark metallic ring contrasts with the lighter ribs around it, and the glazing catches the warm landscape light. Small irregular frame sections keep the shell from reading as a plain transparent ball. I like how the curved structure remains visible without hiding the room behind a dense grid.

A lounge arranged for conversation
A low cream sofa and several pale chairs gather around a round wooden table. The circular rug repeats the shape of the facade without making every object round. Behind the seats, parted curtains frame a bookshelf. Those familiar layers give the room depth: table, seating, fabric and books, with no need to invent a whole unseen house behind them.

A garden above the books
The planted shelf spans the upper part of the interior, leaving the lounge readable beneath it. Taller foliage gathers near the sides, while smaller leaves fill the foreground edge. A gridded green panel sits at the back of the upper garden. Its tidy lines make a pleasing backdrop for all those wonderfully unruly leaves.

Give a 1:12 room a splash of color with iLAND’s turquoise velvet sofa. The rich upholstery and matching pillows make an inviting centerpiece for a little lounge you will want to keep admiring.

Inspirations — From the Big World to the Small
The shell recalls the meeting of a conservatory and a science-fiction observatory. The Eden Project’s Biomes are a useful real-world reference for transparent enclosures organized by a visible framework. Eden describes steel-framed domes with ETFE cushions rather than ordinary panes of glass. For our miniature, borrow the rhythm of clear areas separated by readable ribs, giving the little garden plenty of room to show through.
For the landscape, NASA’s overview of Mars describes a dusty, cold desert world with a very thin atmosphere. That makes this imagined garden an especially inviting refuge. Borrow the visual contrast of rusty terrain and green foliage, then give the little lounge all the comforts your science-fiction daydream can hold.

For another approach to green interiors, explore After the Last Tuesday, our miniature conservatory, where overgrown planting changes the mood of a glazed enclosure. Here, the interior works like a small conservatory room box. A few recognizable domestic objects establish scale, then foliage softens the edges. Let the shiny outer frame remain comparatively spare. If every rib, cushion and plant competes equally for attention, the calm retreat quickly becomes a display cabinet in search of a sorting system.
A few miniature books can give a little room an entire personality. Fill a shelf, leave one beside a chair or make a colorful stack on the desk for an easy, charming addition to your collection.

Artist Tips — Make Your Own Magic
AI-assisted imagination gave this Martian home its garden. Start with a small mockup, test your materials and let warm furnishings play against the red terrain. Your own tiny planet has room for a few surprises.
Plan a Martian garden home miniature
For a manageable display, try a sphere roughly 25–30 cm across and a base wider than the shell. These are suggested planning dimensions, not measurements taken from the picture. Choose one chair first, then size the room and opening around it. A larger furniture scale may require a much larger enclosure; do not force an oversized sofa through a doorway simply because both were sold as miniature items.
The challenging part is the curved outer cage. Simplify it to a strong front ring, a rear support ring and several curved ribs, with short decorative crosspieces added later. The lounge floor and garden shelf should have their own supports connected to the base. They must not hang from thin glazing or rely on loose foliage to conceal an unstable joint. An open-backed version is easier to build, maintain and photograph.

Supplies for the habitat
Home and reclaimed options: clean packaging card for templates, sound clear packaging plastic for small flat windows, paper for leaves and book covers, coffee-stirrer wood for floorboards, fine-weave fabric scraps for curtains and cushions, and clean cork fragments for rocks. Avoid brittle plastic, dusty natural material and anything with sticky residue. Reuse is helpful when the material is dependable, not when it adds a mystery to every joint.
Store-bought materials: a rigid plywood base, sturdy chipboard for laminated rings, basswood strips for floor supports and furniture, thin card for ribs and planters, clear acetate craft sheet for glazing, PVA or suitable wood glue, tacky craft glue, water-based acrylic paints, metallic paint, fine modeling foliage and small pots. Optional ready-made battery lighting can provide a warm interior glow; keep the switch and battery compartment accessible.
Tools: a sharp craft knife, a suitable cutting surface, scissors, tweezers, fine brushes, a sanding block, a compass for drawing circles and small clamps. Draw construction measurements on working templates rather than on visible finished parts. Cut away from your hands with light passes, and have thick plywood cut with an appropriate tool. Follow each adhesive, coating and lighting product’s instructions for compatibility, ventilation and curing.
A gentle glow can make a miniature display feel ready for evening. These iLAND battery-operated string lights are a lovely finishing touch for a little room, festive scene or cozy corner in your collection.

1. Establish a firm base and rocky setting
Draw the shell footprint, circular front opening and room-floor outline on scrap paper. Move a chair-sized paper block around the plan to check access and sightlines. Leave a rim of terrain beyond the sphere so the clear building does not touch the display’s edge. Keep the front rocks relatively low; tall foreground lumps can hide the room you are working so hard to furnish.
Build on a flat, rigid base. Mark the internal support positions before adding terrain, then glue down cork fragments for low rock formations. Press small bits of clean texture material into a thin layer of suitable craft paste or adhesive, following its instructions. Leave the building’s contact points bare and flat. Let the surface cure before brushing away loose material.

Paint the terrain with muted rusty red and brown acrylics. Add a restrained lighter dry-brush to raised edges, keeping the darkest color in crevices. The aim is a rocky setting, not loose dust that will migrate into the sofa. Seal only with a coating compatible with the materials beneath it, and allow the base to finish curing before installing the enclosure.
2. Form an open-backed spherical frame
Laminate several thin chipboard layers into a broad front ring. Stagger the seams rather than stacking them in one weak place. Use a smaller rear ring or partial rear arch to establish depth, and hold both upright in temporary supports while the glue cures. A side-view paper template helps you check the intended curve without repeatedly bending finished pieces.
Make curved ribs from narrow laminated card strips shaped around a smooth temporary form. Allow them to hold their curve before fitting them between the front and rear rings. Keep the inner face of the front opening smooth and consistent. Short crosspieces can suggest the reference’s faceted network, but they are decorative additions to a simpler supporting cage.

Dry-fit the cage on its base and check it from the front and side. A slightly flattened underside is a practical concession: it gives the sphere reliable contact instead of balancing a round object on a point. An easier alternative is a half-sphere display with a flat rear wall. Both approaches preserve the circular window and planted interior without requiring a mathematically exact geodesic structure.
Keep your favorite little color mixtures close at hand with the Army Painter wet palette. It is a useful addition to a miniature-painting setup, especially when an afternoon of details turns into one more tiny touch-up.

3. Support the lounge and upper garden
Cut the lounge floor from sturdy card or thin wood and support it on short posts fixed to the base. Trim the curved edge gradually until it sits comfortably within the cage. Add coffee-stirrer floorboards or narrow paper strips, staggering their ends. Keep the floor level even if the outer terrain slopes; chairs are more convincing when all their feet meet the same surface.
Build the upper garden shelf as a separate shallow tray, with supports behind or beside the lounge. Keep its front edge high enough to leave the main seating area visible. Dry-fit the sofa, chairs and bookshelf while those supports are still adjustable. A paper curtain placeholder helps reveal whether the back of the room feels too crowded.

The rear green grid can be a dark green card panel crossed with fine pale strips. Let its tidy lines give the greenery a little room to show off. Give the shelf a shallow lip to retain the model plants and hide their bases. Once the dry-fit looks balanced, secure the supports and leave the shelf removable until painting and wiring, if used, are complete.
A wooden dollhouse room box gives your favorite miniatures a place to shine. Turn it into a little shop, a reading retreat or a room built around the furniture you have been waiting to display.

4. Paint the cage and fit removable glazing
Paint the frame before adding clear panels. Start with a dark gray base, then lightly pick out raised edges with a silver-toned metallic finish. Avoid coating every surface in bright chrome. A few darker joints and restrained highlights make the frame readable while keeping the leaves and cushions as the warmer focal points. Test the finish on an offcut and let it cure fully.
Make paper patterns for the glazing openings. Transfer each pattern to thin clear craft sheet, leaving a small concealed overlap where the frame will hold it. Flat facets are easier than trying to force a thick sheet into a compound curve. Cut slowly, smooth sharp edges as appropriate for the material, and test an adhesive on a scrap: some products fog, craze or distort clear plastic.

Keep at least one section removable so dust, lighting and furniture remain accessible. For the large front circle, an open display aperture is a sensible option; a separate clear disk can be added only if it can be supported and removed safely. Do not heat unknown packaging plastic to make a dome. The decorative frame provides the visual language without needing a sealed vessel.
5. Furnish the quiet room
Build the sofa as simple card or wood blocks with thin upholstery foam and cream fabric. Test a small cushion before wrapping the whole piece; thick fabric can turn a delicate seat into a loaf. Fold seams underneath and keep glue away from visible edges. Chair frames can be simplified to sturdy wood shapes rather than reproducing every slender curve in the illustration.
Make the round table from layered card disks over a short cylindrical support. A woven-look rug can be a tightly coiled paper cord disk glued to a backing. Leave a clear route between the seating and the bookshelf. Arrange the smaller objects on the floor outside the model first, then install them through the open back after their finishes have cured.

Hang fine fabric curtains from a slim removable rod or strip, gathering them gently to either side of the bookshelf. Keep the folds shallow enough to read at the chosen scale. Add a few paper books and a small plant to the table. Sera and Jun’s folded panorama is an optional story detail; place it on the table with a tiny sun drawn in one corner.
Catherine’s Living Room brings a cozy vintage mood to your miniature collection. With its red sofa, fireplace and inviting little details, it is the sort of room that makes you wish you could shrink down for the evening.

6. Plant the shelves and add gentle light
Make plants in removable clusters. Fine paper leaves can be attached to short stems, or use purpose-made miniature foliage trimmed to suit the room. Keep wire ends tucked into secure bases. Vary the greens with a few darker masses behind lighter leaves, and reserve the tallest plants for the sides so the front opening remains clear.
Fill shallow trays with lightweight planted pieces rather than real soil. The upper shelf should look abundant without becoming heavy. Add small pots around the lounge, then view the model from its intended display angle before gluing them down. If a plant hides the table or blocks a chair completely, move it until the furniture and walking space are readable.

Optional ready-made warm battery LEDs can sit behind a valance or beneath the upper shelf, with leads routed along accessible supports. Test the unit before closing any panels, retain access to its switch and batteries, and follow its product instructions. Do not improvise mains wiring or bury a battery in glued terrain. External lighting alone can also give the room a convincing sunset glow.
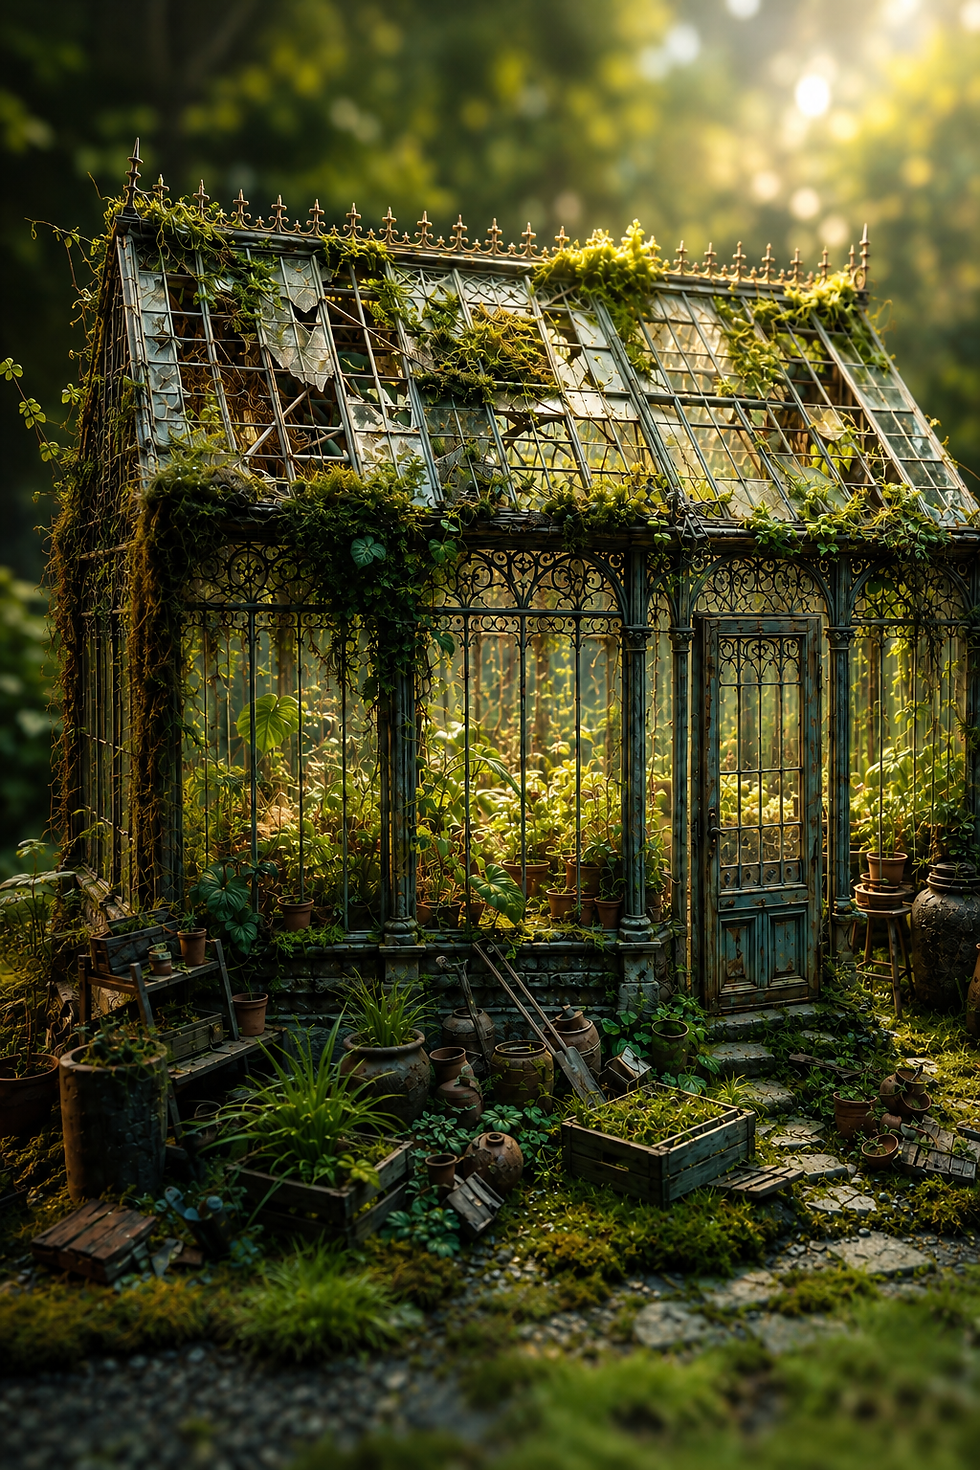
A miniature greenhouse is a lovely excuse to fill one more corner with plants. This DIY kit brings that little world under glass, ready to become a botanical favorite in your collection.

Photograph the refuge without losing the room
Place the model on a quiet surface with a warm gray or muted rust backdrop. Use a broad soft light from one side and a white card opposite to lift the interior shadows. Move the light until the brightest reflection sits away from the circular opening. A small change in angle often reveals more furniture than adding another lamp.
Keep the viewpoint slightly above the lounge floor so the rug, table and upper garden remain visible together. Photograph through the open front for detail views, then replace removable glazing for an exterior shot if desired. Leave enough base in the wider view to show that this is a physical miniature. The frame should outline the scene, not become a bright reflection across every cushion.

Small problems, practical fixes
A leaning sphere: flatten its hidden underside and strengthen its base attachments before adding decorative ribs.
Cloudy glazing: test adhesive on scrap and replace affected panels rather than polishing an unknown coating aggressively.
A drooping garden shelf: reduce foliage weight and add independent supports connected to the base.
A dark lounge: move the upper shelf back, thin the planting or use a white reflector for photographs.
Oversized leaves: trim the foliage and check it against the chair, not against the empty shell alone.
Closing — Until Next Time in the Small World
What stays with me is Sera leaving the old pencil line visible. A map can hold a mistake and a discovery on the same page. That small paper detail gives this imagined refuge a life beyond its beautiful frame.
Would you begin with the silver frame, the little lounge or the upper garden? Share your interpretation with #smallworldminiatures, and visit the Small World Miniatures homepage for more ideas and newsletter updates, or browse the online shop. If you add a little panorama to the table, leave room in its margin for the next discovery.








Comments