


Letters from Castle Dracula: A Candlelit Miniature Study

First Impressions in Miniature
I would happily sit down at this desk to write a letter. I would also check that the door opens from the inside before unpacking. That feels like sensible etiquette when your accommodation is called Castle Dracula.
This Dracula miniature study turns a quiet room into a story full of questions. An amber candle draws us toward an open book, while blue moonlight catches the tall Gothic window behind it. Dark furniture, red textiles and travel trunks make the room feel occupied, although its resident has stepped out of view. The clearly bounded wooden base gives the whole scene the satisfying presence of a small theatrical set.
The image is a literary-inspired miniature concept rather than an illustration of a precisely documented room in Bram Stoker’s novel. Its strongest idea is wonderfully adaptable: let one ordinary activity, writing a letter, carry the unease. We will look at those details before exploring a practical way to build your own castle corner, from layered card stonework to a window that suggests an entire landscape beyond the tabletop.
The purchased alternatives below use Amazon affiliate links; if you buy through them, it helps fund this tiny world. As an Amazon Associate I earn from qualifying purchases.
For a different book-filled build, the CUTEBEE Owl Bookstore kit offers an optional ready-designed nook, not the castle study pictured here.

Miniature Backstory: The Tiny Tale

A Guided Tour of the Build
The desk and the unfinished page
The desk sits slightly forward of the shelving, leaving its turned-looking legs and drawer fronts visible. Its open book creates a pale patch among the brown surfaces. Tiny writing implements, an ink-bottle shape and small vessels gather around it without completely burying the work area. I like that restraint: we can imagine a hand returning to the page.

A window with two kinds of light
The pointed window is the largest vertical feature. Curving tracery at the top contrasts with the straight grid below, and the deep stone-like sill makes the wall feel thick. Through it we see a stylized moonlit landscape, including a distant illuminated building.

Luggage, fabric and the edge of the stage
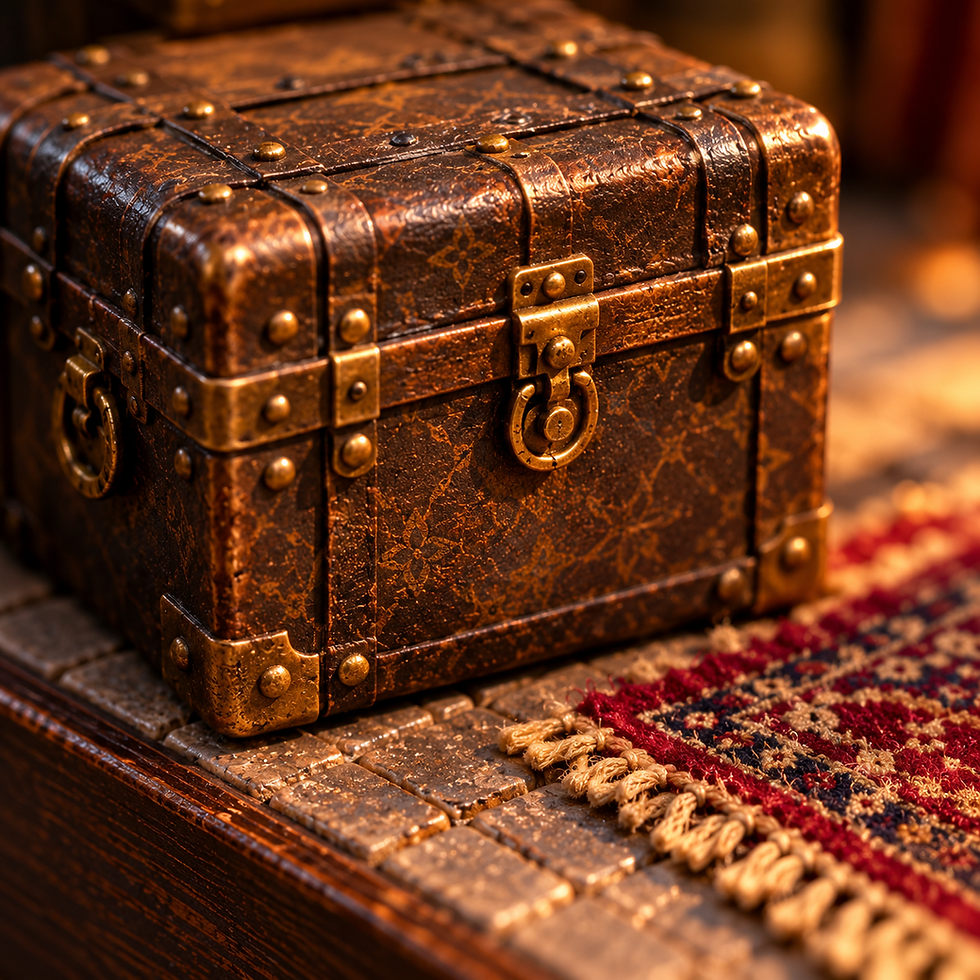
Stacked dark trunks fill the left foreground, while another trunk supports a pitcher on the right. Brass-colored corners and straps catch small highlights. Burgundy fabric hangs from the chair, crosses the desktop and frames the right side as a curtain. The patterned rug ties those reds together. Beneath everything, the front edge of the base remains visible, keeping this rich interior unmistakably miniature.
Inspirations: From the Big World to the Small
Stoker’s Dracula gives a writing desk genuine narrative weight. The novel is assembled through journals, letters and other records, beginning with Jonathan Harker’s account of his journey. Later, the Count requires Harker to write misleading letters about his departure. A miniature page can therefore suggest both a voice and an attempt to control that voice. You can read the original novel through Project Gutenberg; the Tiny Tale retells Harker’s forced letters from Chapter IV, while this room’s particular arrangement remains an imagined interpretation.
The MiniCity Hemingway House book nook is a separate literary-themed kit option, rather than a model of this invented Dracula room.

The window recalls the Gothic vocabulary explained by the Victoria and Albert Museum: pointed arches and tracery provide height and intricate divisions. The V&A identifies Saint-Denis as an important early Gothic precedent. For a small model, the useful lesson is the relationship between a strong outer arch and lighter interior lines. You can borrow that relationship without attempting a cathedral in the corner of your living room.
Strawberry Hill House offers another helpful design comparison. Historic England’s archive describes Gothic bookcases beside its library fireplace. The miniature here uses simpler shelving, but the combination of books, timber and Gothic architectural framing makes a productive pairing. Keep the furniture straightforward if the window already carries elaborate decoration; every surface need not compete for the last dramatic flourish. My haunted mansion miniature guide explores another atmospheric architectural setting.
Whitby supplies a more direct connection to the novel. English Heritage documents Stoker’s 1890 visit and the town’s role in his development of Dracula. Its abbey ruins are useful references for weathered masonry and the silhouette of pointed openings.

Artist Tips: Make Your Own Magic
The main image and accompanying concept illustrations are AI-generated. Think of this guide as a practical starting point for an inspired miniature, rather than a tested set of plans for reproducing every tiny object. Your materials, tools and patience will produce their own version. Mine would probably include one drawer that refuses to close, despite several reassuring measurements.
Planning your Dracula miniature study
A proposed 1:12 scale makes the books and desk accessories reasonably manageable. It is a planning choice, not a measurement of the image. At that scale, one inch represents one foot. Start with a roughly 30-centimeter-square base if that suits your display space, then adjust the room around the furniture you actually intend to use. A desk near 6 centimeters high is a useful starting mock-up, not a compulsory dimension.
This is an intermediate project because the window requires careful cutting and the lighting works best when planned early. You can simplify it by using a printed window grille, ready-made furniture and painted candle flames. The essential tools are a cutting mat, suitable craft knife, straightedge, scissors, small brushes, tweezers and a means of holding parts square while adhesive sets.
Prefer a ready-designed bookish interior? The MiniCity Library of Gods book nook is another distinct project to consider instead of scratch-building.

Gather your supplies
For the structure, start with clean, sturdy packaging card for mock-ups and layered wall details. Buy mountboard or suitable model-making board when you need more predictable thickness. Use a rigid, stable base rather than relying on a single sheet of cereal-box card.
For furniture, clean wooden stirrers and small scrap-wood pieces can become shelves and desk panels. Basswood strips or unfinished miniature furniture are useful alternatives. Thin card makes convincing drawer fronts and trunk straps, while folded paper creates book blocks and envelopes.
For surfaces, save plain paper scraps for stone-facing pieces and book covers. Water-based acrylic paints, a compatible matte finish and a small amount of metallic paint supply most of the palette. An appropriate wood or paper adhesive handles those materials; if you choose foam for any part, use an adhesive explicitly compatible with that foam. Woodland Scenics’ Foam Tack instructions, for example, specify foam, wood and cork. Follow the chosen product’s directions rather than treating all glues as interchangeable.
Vallejo Gloss Varnish 70.510 is an optional selective sheen for compatible vessel surfaces; test it first and keep the stone matte.
For textiles, test a scrap of fine, tightly woven fabric before buying miniature upholstery fabric. For the window, use clean, scratch-free clear packaging plastic or purchased clear model glazing. A ready-made low-voltage miniature lighting set is optional. Choose its matched power supply and follow its instructions; this project needs no mains wiring and no real flames.

1. Mock up the room before building the walls
Cut paper footprints for the desk, chair, trunks and shelving. Arrange them on the base with a clear view toward the open book. Keep the chair slightly turned or pulled back so its silhouette reads separately from the desk. Leave space between furniture and the outer edge; a congested foreground can hide the very details you have spent time making.
Stand temporary card walls behind the layout and sketch the window opening at full model size. Photograph the arrangement from the intended viewing angle. Check that the window does not disappear behind the chair and that the shelves balance its height. Move paper now rather than prying glued furniture loose later. Mark any planned wire route and an accessible battery location. Once you like the composition, transfer these positions to a simple paper plan and keep it beside your workspace.

2. Build a rigid corner and an accessible window opening
Cut two wall panels and dry-fit them on the base. Work on a cutting mat, keep fingers out of the cutting path and make controlled passes instead of forcing a deep cut. Build up the window surround with several card layers so the opening has visible depth. Cut the inner aperture before assembling the layers, which is easier than reaching into a finished room.
Glue the walls square using an adhesive suitable for the materials. Support them while the bond develops and let the assembly dry according to the product’s instructions before adding heavier pieces. Keep the exterior of the window accessible until the glazing, scenic backing and any light test are complete. If a complex pointed arch feels daunting, use one clean pointed opening and a simplified inner frame; the shape will still carry the Gothic mood.

3. Give the masonry texture without burying the detail
Cut irregular rectangles from thin card for the floor and larger pieces for the window surround. Slightly soften their corners and vary the joints without turning every piece into a different scale. Attach them with thin, even adhesive coverage. Too much moisture can distort card, so test your combination on scraps before covering the walls.
Paint the dry surface a muted warm gray. When that coat is dry, brush a thin darker color into selected recesses, then lightly catch raised edges with a paler gray. Let each stage dry before the next. Keep the wall quieter than the window surround: a few subtle patches read as age more convincingly than identical dark outlines around every stone. Use painted shadows near the floor and window corners to suggest depth, leaving the desk-facing area comparatively calm.

4. Assemble the Gothic window and its distant view
Draw the tracery on paper first, then transfer a simplified version to thin card. Cut the broad outer frame before its finer internal divisions. If those curves prove fragile, build a sturdier frame and use a printed design on clear film as the easier alternative. Paint the frame before fitting the glazing so you avoid brush marks on its clear surface.
Attach the clear panel from the rear with a compatible adhesive tested on an offcut. Let it dry without squeezing excess glue into the opening. Place an original painted or properly licensed scenic backdrop a short distance behind the window. Keep its distant buildings and trees smaller and softer than the interior details. Test the view from several angles before fixing it, and leave enough separation to prevent an obvious flat picture from touching the glass.

5. Make the desk, shelving and travel trunks
Build the desk as a simple boxlike frame with a separate top and applied drawer fronts. Straight wooden legs are perfectly workable; ready-made miniature legs provide a more ornate alternative without requiring a lathe. Assemble the shelving from narrow strips, checking that each shelf sits level before the adhesive sets. Dry-fit both pieces against your original footprints.
AMACO Rub ’n Buff Antique Gold offers optional hardware accents. This wax finish needs substrate testing and its own handling instructions.

For trunks, wrap small card boxes with thin paper and add narrow card straps. Tiny dots of metallic paint can suggest studs without oversized beads. Paint wood-like pieces in a dark brown base, then add restrained lighter streaks along the apparent grain after drying. Rub a little warm metallic color onto selected corners and hardware. Allow paint and protective finish to cure as directed before handling or attaching fabric, which can pick up tacky paint surprisingly well.

6. Add textiles that hang at miniature scale
Choose a fine fabric with a small pattern, or print an original reduced pattern onto suitable paper for a flat rug. Test the pattern beside the chair: a handsome full-size upholstery motif can become larger than an entire miniature cushion. Cut the rug slightly smaller than the open floor area so the stonework still shows around it.
For the chair throw and desk runner, try the fabric dry before applying anything. Fold narrow pleats, weight them temporarily and check the hanging edge in a photograph. If the fabric needs help retaining its shape, test a fabric-compatible stiffener on a scrap and follow its instructions. Let it dry fully away from the model before installation. Keep fringes short and sparse. The burgundy curtain can be a simple gathered panel; it only needs to frame the room, not operate on a working rail.

7. Light the candles with an electrical illusion
Use a matched, ready-made low-voltage miniature LED system if you want working light. Fit a candle-style fixture or conceal a warm LED behind an opaque miniature candle body designed for that use. The image shows flame-shaped highlights, but an actual flame has no place among card, fabric and wooden miniatures.
Test the complete lighting set before fixing it into the room. Follow the manufacturer’s instructions for power, connections and installation, and keep the switch and battery compartment accessible. Secure wires along the planned route without crushing them or covering serviceable connections permanently. A second, cooler light outside the window can suggest moonlight during photography rather than becoming part of the model. If wiring is not your preferred evening activity, painted candle shapes and external warm illumination still give you a convincing scene.

8. Tell the story with paper and small objects
Fold tiny paper signatures into book blocks and wrap them with thin covers. Add a few raised spine bands using narrow paper strips, keeping thickness proportional to the books. For the open volume, gently curve several pages over a narrow central fold. Use original miniature marks or public-domain text you have checked, rather than copying a modern edition’s artwork or pages.
Place the open book first and work outward. Add an ink-bottle shape, a pen, one small vessel and a modest cluster of correspondence. Keep an open patch of desktop around the writing area. A silhouette portrait and a small map-like drawing can be your own designs. Dry-fit every prop before gluing; each should help the room feel occupied. In particular, let one stack lean slightly while the others remain orderly, letting the correspondence provide a quiet reminder of Harker’s predicament.

9. Photograph the miniature as a small, complete world
Set the finished model against a plain, softly curved backdrop. Start with the camera just above desk height and outside the open corner, keeping a portion of the base in frame. That edge confirms the scene’s physical scale. Take a wider view first, then move closer for the desk, window and luggage details rather than trying to make one photograph explain everything.
Use a diffused warm light toward the desk and a weaker cool light behind or beside the window. Keep lamps and diffusers safely away from the model and follow their operating instructions. If the glazing reflects your room, change the light angle or camera position before adding more illumination. Stabilize the camera, use its timer and check the open book and window frame at full size. Preserve detail in the candle highlights; a pale glowing blob quickly swallows a tiny candlestick.

Small problems, practical fixes
If the card masonry curls, reduce wet adhesive and paint applications on a test piece before replacing the affected section. Let supported parts dry fully before judging their final shape.
For restrained aging on trunk hardware, Vallejo Rust 70.183 is an optional weathering material. Test compatibility before applying it to finished props.

If the room looks muddy, lighten one focal surface, such as the open pages or desktop edge, and reduce scattered highlights elsewhere. Give the eye a clear route toward the writing area.
If the window looks flat, move the backing farther behind it and simplify foreground details in the backdrop. Separate interior sharpness from distant softness.
If the drapes look bulky, choose a finer weave or replace the runner with printed paper. A flatter material often photographs more convincingly than a luxurious but oversized fold.
If the lights disappear after assembly, check the accessible connections and power supply using the lighting maker’s troubleshooting guidance. Avoid dismantling delicate furniture until the simple checks are complete.
Closing: Until Next Time in the Small World
My favorite thing about this study is that the most important object may be the smallest: a page waiting for its last sentence. The grand window attracts us first, but the desk gives us a reason to stay. After Harker’s three letters, even that quiet writing space carries a sense of confinement.
Which detail would you build first: the Gothic window, the stack of travelling trunks or the open letter? Tell me in the comments, and share your own literary corners with #smallworldminiatures. You can also explore the Small World Miniatures shop and join the newsletter for more tiny-world inspiration. I look forward to seeing what you put on the desk, and how a few folded sheets might change the mood of the whole room.








Comments