



The Ultimate Guide to Miniature Autumn Trees

Making miniature autumn trees is a wonderful way to bring seasonal color to a small landscape. In the opening illustration, my eye goes first to the crimson, maple-like crown, then follows the dark branches down to the mossy, rocky plinth. The golden tree behind it and the smaller orange tree give the scene depth without needing a large footprint. I like a forest that fits on a shelf. The full-size version is much less cooperative about dusting.
The images accompanying this guide are AI-generated concept illustrations. They show possible compositions and decorative details; they are not photographs of a tested build. The practical methods below draw on established model-scenery techniques and manufacturer guidance, with suggested variations clearly identified.
The purchased alternatives below use Amazon affiliate links; if you buy through them, it helps fund this tiny world. As an Amazon Associate I earn from qualifying purchases.
For a separate building-kit interpretation, the LEGO Japanese Red Maple Bonsai offers an angular autumn silhouette to study.

How to plan miniature autumn trees
Start with the view you want to create. Will someone see the tree at eye level beside a cottage, from above on a gaming table, or close up inside a display case? A tree that works beautifully in one setting may need a narrower crown or sturdier branches in another. Mark its intended height and canopy width on paper, then place that outline beside the surrounding miniature buildings or figures.
I would keep the opening illustration's generous spaces between the red leaf clusters as a guiding detail. Those openings let the trunk remain part of the composition. They also give you somewhere to pause while adding foliage, before every branch disappears. For another setting, my Japanese autumn railway station places open maple canopies beside a rain-dark platform.

Get the scale into a workable range
Divide a real-world measurement by the scale denominator, using the same units throughout. A 12-meter tree is 12,000 millimeters tall: at 1:87, it becomes roughly 138 millimeters; at 1:48, 250 millimeters. These are examples for planning, not standard heights for a particular species.
Use the same calculation for leaves. A hypothetical 100-millimeter leaf becomes about 1.15 millimeters at 1:87. You don't need to cut thousands of exact leaves, but this check helps reveal when a chunky foliage material will overpower the branches. Decide how closely the tree will be photographed, then choose enough detail for that viewing distance.
Choose a silhouette you can recognize
Sketch a broad spreading crown, a tall open crown, or a compact rounded crown. Give each a clear trunk line and an uneven outline. A photograph of a real tree is useful for observing where major branches divide and how the outer canopy breaks into smaller masses. If you're aiming for an identifiable species, use that reference throughout; the maple-like tree in our illustration is an artistic starting point.

Gather your materials
Structure and reusable tools
Choose pliable armature wire, wire cutters, flat-jaw craft pliers, and a firm temporary holder. A scrap of wood with a suitable hole can hold the trunk while you work. Keep eye protection nearby when cutting wire, contain the offcuts, and turn sharp ends away from your hands. Reusable brushes, tweezers, a shallow catch tray, and a small palette will serve through several stages.
A commercial bendable armature is a useful alternative when you want to focus on foliage. Match its height and branching to your plan. Follow the maker's preparation and paint guidance, since a plastic armature and a bare wire one may need different treatment.

Bark, paint, and foliage
For bark, choose a compatible acrylic modeling paste or wood putty, along with acrylic paints and a fine texturing tool. Useful colors include a dark brown, gray, warm tan, yellow ochre, yellow, red, orange, and muted green. Mix these from paints you own.
For the crown, gather fine branching foliage, a suitably fine scenic leaf flock, and the adhesive recommended for those materials. Small separate portions of yellow, rust, orange, and subdued green offer more control. Keep a little material aside for tests before covering the whole tree.
Base and finishing materials
Choose a stable base, earth-colored paint or fine terrain texture paste, a few stones, restrained ground vegetation, and clear-drying scenic adhesive. Save clean foliage crumbs in a labeled container for leaf litter. A rigid background card and a phone or camera support will help later with photographs. Read product labels, follow ventilation instructions, and allow each coating the drying time its maker specifies.
1. Shape the wire armature
For a first practice tree around 10–15 centimeters tall, a suggested starting point is 20–30 lengths of fine, pliable wire, each roughly twice the intended tree height. This is an adjustable starting exercise: wire thickness, branching, and twisting all affect the result. Make a small trial bundle first to check that you can twist it comfortably and that the resulting branches suit your scale.
Gather the wires together, reserving short ends at the bottom for roots or an anchoring pin. Twist the lower bundle into a trunk, then separate the upper wires into several unequal groups. Twist each group a little farther before dividing it again. NOCH uses this same underlying principle in its wire trees: the full bundle forms the trunk, smaller bundles form branches, and fewer wires create the finest divisions.

Give the branches room
Stagger the branching points up the trunk. Let one strong branch travel sideways, another rise behind it, and a smaller one turn toward the viewer. Rotate the tree frequently so the branches occupy depth as well as width. Gradually reduce the wire count toward the tips, and vary the length of neighboring twigs.
Set the armature against a plain background and compare it with your sketch. Trim awkward tips, open cramped junctions, and make the main bends now. Leave enough clear space around the central trunk for its movement to show through the finished foliage. A few outward-reaching branches can give the whole tree a much larger presence.
At the bottom, spread some wire into short root shapes and reserve a secure way to mount the tree. Check that the base can carry the intended canopy without tipping. Once the outline feels balanced from the main viewing angle and the sides, photograph the bare structure. That reference will help you preserve its strongest features as you add material. A magnifying task lamp helps when inspecting the finest junctions.

2. Texture and paint the bark
Test your chosen coating on a spare twisted wire before applying it to the tree. Check that it adheres, conceals the spiral, and dries to a texture you can paint. Water-based wood putty and acrylic modeling paste behave differently, so follow the product's directions for thinning and compatible surfaces. FineScale Modeler's tree tutorial uses thinned, stippled water-based wood putty for slender trunks and to conceal branch joins.
Apply a thin covering to the trunk and the main branches. Work it into junctions, smoothing abrupt wire transitions while preserving the taper. Keep the coating much lighter as you approach the fine twigs. A small brush or modeling tool can distribute it without building a thick ridge around every branch.

Make texture follow the trunk
While the coating is workable, add shallow, irregular marks that follow the trunk's length. Let a few marks curve around a root or branch junction. Check the texture against your reference and scale; a close photograph will exaggerate every groove. Smooth excessive ridges before they set.
Build up only where needed, letting each layer dry. Liquitex advises thin layers and slow drying for its Light Modeling Paste to reduce shrinkage cracking. That particular paste dries hard and opaque white, so allow for repainting and finish shaping before coating. Avoid assuming that a hard bark layer will tolerate later bending.
Once dry, paint a gray-brown base over the trunk, roots, and visible branches. For an optional starting mix, try two parts dark brown to one part medium gray, then adjust toward your reference. Brush a slightly darker wash into selected recesses and let it dry. Finish with a restrained drybrush of gray-tan over raised areas. Wipe most paint from the brush first and build the highlight gradually, keeping the contrast soft enough for the tree's size. A wet palette provides a reusable mixing area for these colors.

3. Build a fine canopy with believable leaves
The crown needs smaller structures between the bare wire and the visible leaves. Fine branching foliage can supply those twig-like divisions, allowing you to build leaf clusters in small pieces. Woodland Scenics describes stripping, cutting, or breaking its Fine-Leaf Foliage for different uses. Keep the clean fragments that fall into your tray; they'll be useful around the base.
Hold several pieces against the armature before gluing. Try a loose group along an outer branch, a smaller patch behind it, and a gap near the trunk. View the tree from its intended angle. You should still be able to follow some of the larger branches through the crown.
Work outward in small clusters
Apply the adhesive appropriate to your materials on the slender, leaf-bearing parts of the structure. When using Hob-e-Tac, Woodland Scenics specifies waiting until it becomes clear and tacky before attaching foliage. Use that visual check rather than borrowing a drying time from another adhesive.

Attach a few pieces at a time, rotating the tree between additions. Keep cluster edges irregular, with smaller fragments near the outer tips. Let the overall crown follow the branch structure instead of forming a single continuous cap. Pause occasionally to check the outline against your earlier armature photograph. The trunk deserves a speaking part.
If adding separate leaf scatter, test its size and adhesive on one spare piece of foliage first. Let it dry and inspect it at normal viewing distance and in a close photograph. A material advertised for several scales can still look coarse in a tightly framed image. Use finer particles where detail will be most visible.
Finish with a few deliberately sparse areas and visible twig ends. Follow the foliage manufacturer's sealing instructions; Woodland Scenics recommends Scenic Cement for its system. Test the finish on a sample, since adding liquid may change the appearance of a delicate canopy. Allow it to dry fully before judging the final color and fullness.
4. Develop an autumn color palette
Choose a dominant color, a supporting color, and a quieter shadow color before adding more paint or scatter. The opening scene uses a crimson focal tree, a golden rear tree, and a smaller orange tree. Each has its own role, while the warm colors and dark trunks connect the group. You can borrow that arrangement or keep a single tree within a narrower range.
Precolored foliage makes a practical base. NOCH's autumn leaf set includes yellow, red, reddish brown, and orange, giving you several related tones to place in patches. Keep separate portions in your tray so you can control where each color lands. Photograph a small sample under the light you expect to use for the finished scene.

Three suggested starting palettes
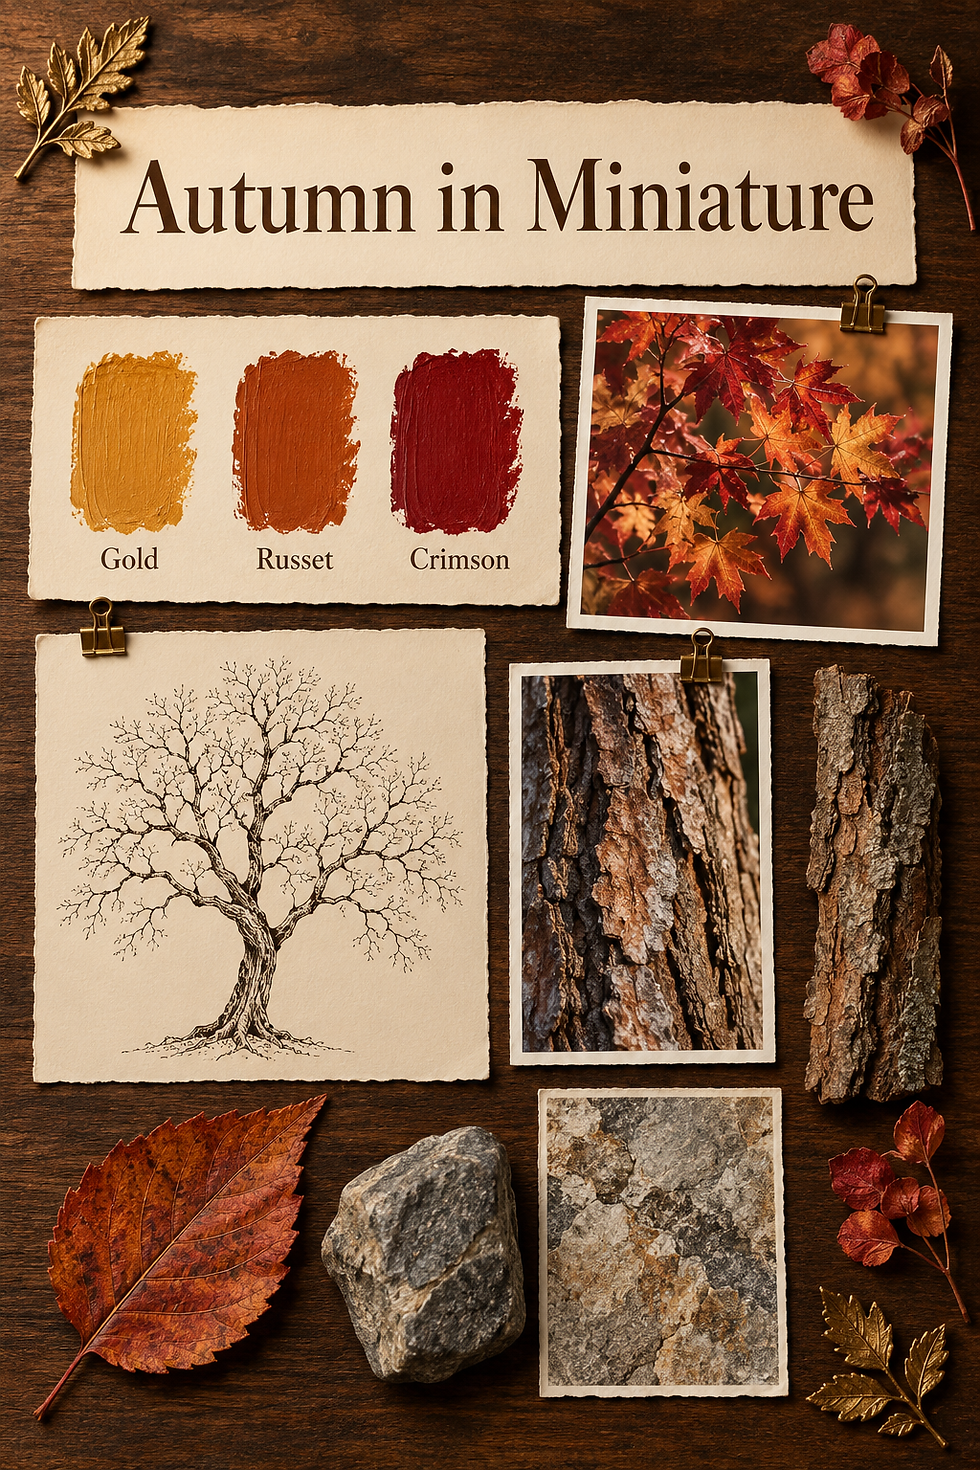
For golden foliage, begin with yellow and yellow ochre. An optional acrylic starting mix is two parts yellow to one part yellow ochre, with a tiny touch of burnt sienna for warmer patches. For a russet tree, try two parts burnt sienna to one part orange, then introduce small red-brown accents. For a crimson tree, try three parts red to one part burnt sienna, adjusting the warmth and darkness on a sample.
These ratios are suggested starting points for your own tests, not manufacturer recipes. Paint strength varies by brand, pigment, and formulation. Measure loosely with the same brush or small scoop, and let a test dry before deciding whether to add more color.
Use paint sparingly on delicate foliage. Light stippling on selected outer surfaces can add variation while retaining the existing texture; heavy coverage can fill the tiny spaces. Fine contrasting scatter is another way to add highlights. Group the brighter accents where you want attention, leaving quieter colors elsewhere.
Before calling the palette finished, place the tree beside its intended ground and neighboring objects. Adjust one small area at a time. The canopy should remain readable as a whole, with enough local variation to reward a closer look. Keep your ochres, reds, and browns organized if you plan a whole grove.

5. Plant the roots, leaf litter, and ground cover
Test the tree's position on the base before adding ground texture. Move it slightly off center, turn its best branch toward the main view, and check that the crown has room above surrounding objects. For a small group, stagger the trunks front to back. The golden rear tree in the illustration helps the red tree stand forward, while the smaller orange crown leads the eye toward the edge.
Use the armature's pin or a securely supported wire extension to anchor the tree in a suitable hole. Choose an adhesive compatible with the trunk and base materials, and let it set before working around it. Arrange the visible roots so they seem to enter the ground, then blend their edges with a little terrain texture.

Build the ground in layers
Paint or texture the base in an earth tone that supports the canopy colors. Add a few stones and small areas of low vegetation, leaving some soil visible. On a rocky plinth, vary the exposed stone surfaces and soften selected joins with ground cover. Keep each addition small enough that it doesn't compete with the tree's trunk.
Apply leaf litter in irregular patches using an appropriate clear-drying scenic adhesive. Use saved clean foliage fragments and a little leaf scatter that matches the canopy. NOCH specifically identifies its autumn leaves as suitable for ground cover and deciduous forest floors. Gather more material below the crown and in sheltered pockets beside roots or stones, then scatter a few individual fragments farther out.

Let the adhesive dry before deciding whether the ground needs more leaves. A sparse patch of soil can make the neighboring pile feel more convincing. Check the scene from a low angle for exposed mounting hardware, obvious glue, and roots that appear to float. Finish by cleaning the display edge and testing the base's stability with the canopy fully attached. Even tiny forests benefit from a little restraint with the confetti. A few static grass tufts can soften the edge of the leaf litter.

6. Photograph the finished trees
Start with a simple background and soft, even light. A window out of direct sun is a useful place to experiment; a large sheet of neutral card can keep the surroundings quiet. Put the tree far enough from the background that its silhouette stays clear. Look for separation around dark branches and make sure bright foliage retains visible texture.
Support the camera or phone so you can refine the framing without moving it between every shot. Nikon's macro guidance recommends a tripod or another steady surface, deliberate background contrast, and attention to white balance. Take a test image and check whether the reds, golds, and bark colors resemble what you see in front of you.

Choose the view, then check the focus
Make an overall photograph first. Lower the camera toward the scene's own eye level for an immersive view, or raise it enough to explain the base and planting arrangement. Try both before choosing. Keep the main trunk readable and watch for background shapes that seem to emerge from the canopy.
Close focusing reduces how much of the scene appears sharp. On a camera with aperture control, try a smaller aperture when you need more of the tree in focus, checking the result rather than relying on one universal setting. With a phone, moving back slightly and cropping can be easier than pushing closer. Tap to focus on the important part of the tree and inspect the outer branches afterward.
Capture three useful views: the complete tree, the bark and branching, and the leaf litter around the roots. A side view can also reveal how the canopy occupies space. Review the pictures at a larger size for stray fibers, shiny glue, or an unexpectedly dense patch of foliage. Make any small finishing adjustments, then repeat the same framing. Keep a neutral-light reference photograph alongside warmer, more atmospheric images so the actual colors remain easy to understand.

Adapt the method to your project
Choose the seasonal moment as well. An early-autumn interpretation can retain generous muted green areas among warm patches. A fuller autumn display can emphasize coordinated gold, red, or russet masses. A later-autumn interpretation can expose more branches and place more of the color on the ground. Use a real reference if the scene needs to represent a particular place, species, or date. The autumn tea house diorama explores a warmer garden composition around a tiny building.
Troubleshooting miniature autumn trees
Why does the crown look too solid?
Remove a few small clusters near the center and between major branches. Recheck the tree against a plain background, then refine the outer edge with smaller pieces. Preserve some visible pathways through the crown.
Why can I still see the twisted wire?
Inspect the dry bark coating before adding foliage. Fill only the obvious spiral grooves with another thin compatible layer, let it dry, and repaint. Keep the coating light around the fine branch tips.
Why are the leaves falling off?
Check whether the adhesive suits the foliage and whether it reached the correct application stage. Attach a small sample again following the product instructions. Seal only as recommended, then let everything dry before handling the crown.
Why did the autumn colors become muddy?
Try fewer overlapping colors and allow painted layers to dry between additions. Keep separate portions of scatter on the palette. Restore selected brighter patches gradually while preserving the darker areas that give the canopy depth.
Why does the tree seem to float above the base?
Check the anchor, then blend the visible roots into the surrounding ground. A little earth texture and uneven leaf litter can soften the transition. Keep parts of the roots visible so the tree still feels connected to its setting.
For a storybook woodland, optional miniature mushroom figures add a small accent near the roots. Check their dimensions against your tree first.

Bring a little autumn into your miniature world
The details worth lingering over are often the smallest: a branch visible through red leaves, a warm highlight on bark, or a handful of fallen leaves caught beside a stone. Give those details space, and let the tree's overall shape lead the scene.
Which would you make first: crimson, gold, or russet? Share your trees with #smallworldminiatures. Explore the shop and newsletter for more miniature inspiration.








Comments