



Dracula’s Paper Castle Miniature: Gothic Spires in Glorious Color

First Impressions in Miniature
I love the contrast between these vibrant colors and the dark story of Dracula. This Dracula paper castle miniature keeps its sharp Gothic silhouette, then dresses it in teal, raspberry pink and lantern yellow. Even the bats arrive in orange and lime. It looks as though the Count approved the architectural drawings and forgot to attend the meeting about paint.
Look past the exuberance and the design is surprisingly disciplined. Two tall central spires establish the skyline. A teal gable and its round window draw your eye downward, while broad grey steps lead to an orange doorway. The curling trees frame that route without closing it. You can read the front door immediately, even with a small airborne population competing for attention.
Some links in this post are affiliate links. As an Amazon Associate, I earn from qualifying purchases. Your purchases may help support Small World Miniatures at no extra cost to you.
For a little bookish detail beside a finished display, miniature books offer an optional nod to the story that started it all. They are accessories, rather than materials needed to build the paper castle.

The paper-like edges matter as much as the colors. Flat leaves become curls, simple roof shapes become overlapping scales, and a window becomes a small arrangement of bright cutouts. I find that invitation particularly appealing: start with an ordinary flat sheet and give it a very unreasonable address.
Miniature Backstory: The Tiny Tale
Count Dracula summoned his groundskeeper at dusk. “The trees,” he said, “appear to be celebrating.”
Mina the moth adjusted her tiny spectacles. She had been hired to keep the garden tidy, not gloomy, and she considered the distinction important. Behind her, a green paper branch uncurled with the confidence of someone stretching before breakfast.
“The trees are within their seasonal allowance,” she replied.
Dracula pointed at a raspberry bat hanging above the gate. “And that?”
“Visiting family.”
The bat waved both wings. Dracula had never mastered a dignified response to enthusiastic waving, so he inspected a lantern instead. Its light shone orange through the porch window and made the grey tracery look rather handsome. He straightened one crooked lantern chain when nobody was watching.

Mina opened her garden ledger. The roses had requested another strip of red paper. The left tree needed permission to curl beyond the fence. Three bats were refusing to fly until their wings matched the roof.
“There must be one sensible thing in this garden,” said Dracula.
Mina presented the invoice.
For a moment, the courtyard was completely silent.
“Excellent,” he said at last. “Something genuinely terrifying.”
He returned indoors, leaving the orange door open just long enough for Mina to notice a vase of pink flowers on his desk. She marked the trees approved and gave the bats their matching wings. The Count’s reputation was safe. His decorating preferences were another matter.
A Guided Tour of the Build
The rose window gives the skyline a center
The central teal gable carries a large flower-like window in yellow and orange. Narrow pale trim follows its pitched edges; a small balcony sits below. Around it, the taller towers climb into alternating pink and plum roof scales. Those repeated shapes keep the busy silhouette connected, rather than making every tower compete with a different visual language.
In an inspired version, repeat one window shape at several sizes. Reserve the largest circle for the central gable, and keep the smaller round windows subordinate. The eye needs that hierarchy more than it needs another ornament.

The doorway offers a place to arrive
The porch is lower and paler than the walls behind it. Grey framing, delicate white tracery and an orange flower ornament surround the tall double door. Broad steps widen toward the viewer. Small lanterns flank the entrance, while the black foreground fence adds a crisp line against the colorful planting.
I especially like how the grey gives the brightest colors breathing room. Carry that restraint into the steps and porch supports. If every surface receives a different pattern, the entrance loses its useful job as the visual resting place.

Trees that behave like ribbons
On the left, orange, cream and teal strips twist together before splitting into green curls. On the right, warmer coral and purple spirals answer them. Small conifer shapes and rolled flowers fill the lower spaces. The two trees have related construction logic without looking copied and pasted.
A separate Japanese Red Maple Bonsai model is another way to enjoy a vivid tree silhouette on a shelf. It is a different building medium and a separate project, not a component of this paper design. Here, the open curls are essential: they let the castle remain visible through the foliage.

For your own planting, leave gaps between the curls. A densely packed paper ball would hide the striped trunk and turn the tree into a heavy shape. A few rolled blooms at the roots can make the transition to the base feel deliberate without burying the architecture.

Inspirations: From the Big World to the Small
Bram Stoker’s Dracula was published in 1897. The novel provides the dark literary starting point, while this castle takes an exuberant decorative detour.
The Gothic vocabulary is easier to identify. The V&A’s introduction to Gothic design explains pointed arches, elaborate tracery and rose windows. Those features lend themselves beautifully to cut paper: a pointed opening reads clearly in silhouette, and a layered circular window can suggest intricate glazing with only a handful of shapes.
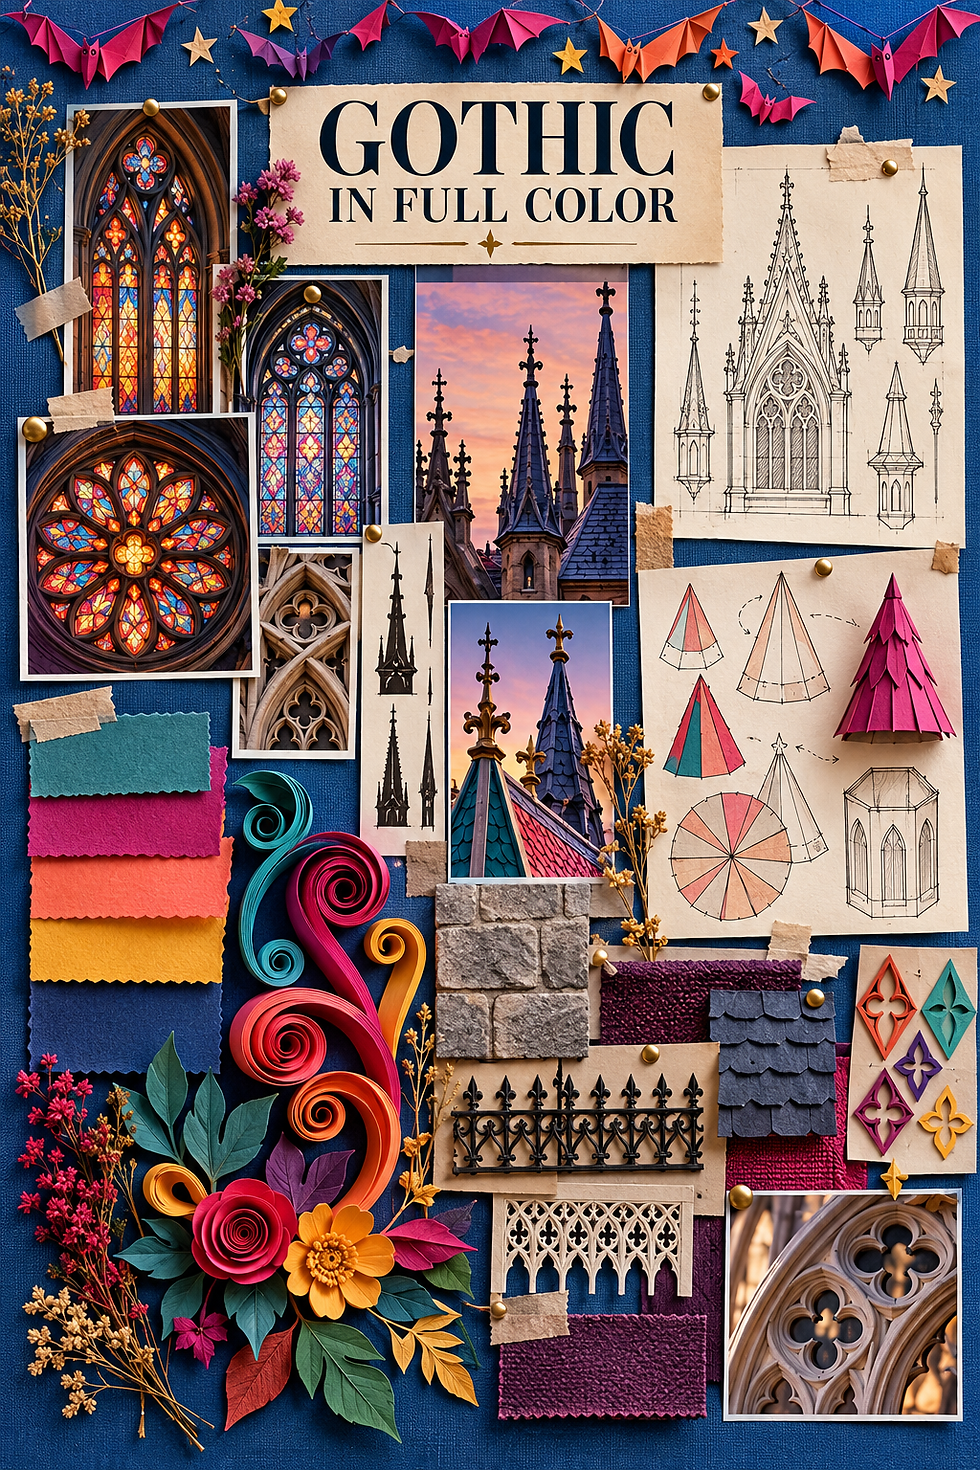
The palette adds a theatrical quality. Blue makes the orange windows appear warmer; pink roofs separate the skyline from the blue backdrop. The suspended bats extend the composition into the surrounding space, almost like a small paper stage. Keep those flying pieces on an independent support when building, so they do not pull on the fragile roofs.
If architectural layering appeals more than cutting individual towers, the separate Venice Night Starlit book-nook kit offers a different architectural scene to explore. Its ready-designed format is an alternative project, not a substitute plan for this castle.

Artist Tips: Make Your Own Magic
These illustrations are AI-generated, and the guide is an invitation to make an inspired version rather than an exact, tested reproduction. Results vary. Your castle may develop a slightly different personality, and I would give its roof committee plenty of room to negotiate.
Plan a Dracula paper castle miniature you can finish
Treat this as an intermediate paper-engineering project because the slender towers, layered openings and curling trees need patient assembly. Choose a display size that fits your shelf before drawing templates. No measured scale is supplied for the pictured model. For a manageable first version, preserve the two tall central spires, central rose-window gable and low entrance, then reduce the number of small turrets.
Supplies
Use clean cereal-box card or packaging greyboard for a rigid base and hidden shell; thicker craft board is a purchasable equivalent. Reuse plain paper tubes for round turrets, or roll your own from cardstock. Avoid greasy, damp or badly creased packaging.
For visible surfaces, gather teal, slate blue, plum, raspberry, coral, orange, cream and grey papers. Offcuts are ideal for roof scales, window tracery and flowers. Add translucent yellow or orange paper for glazing, plain acetate if you want stronger window backing, and narrow paper strips for the trees.
For assembly, use paper-compatible white craft glue, a fine applicator, scissors, a sharp craft knife, tweezers, clips and a protected cutting surface. A blunt scoring tool helps folds; spare scrap card protects finished surfaces from clip marks. Keep blades capped when not in use and cut away from your fingers.

A small acrylic palette is optional for touching up exposed card edges. The Army Painter wet palette can organize those paint colors, but precolored paper lets you skip painting most of the model. You also need fine thread and a separate overhead support if you want suspended bats.

Optional lighting should be a ready-made low-voltage battery unit intended for model use, installed according to its instructions with accessible batteries. Colored window paper looks lively without it. Never put candles, hot bulbs or mains wiring inside a paper structure.
1. Make a silhouette and a route to the door
Draw the front elevation on scrap paper. Establish the pair of tall towers first, then the teal gable between them and the lower porch slightly right of center. Trace the major shapes onto separate pieces so you can rearrange them before cutting structural card. Keep the porch low enough that it does not cover the rose window.
Set the paper shapes upright with temporary folded feet. Mark generous space at the base for the two trees, broad steps and foreground fence. Check the view from your expected display angle; a tree that looks fine from above may block the doorway at eye level. Simplify by using one shallow main building behind the layered facade, rather than a complete room inside every tower.

2. Build a square shell behind the theatrical front
Laminate clean packaging card into a flat base with thin, even glue layers. Dry it under a flat protective board before adding weight. Make the central shell from scored card panels with generous joining tabs and internal corner braces. Test-fit the tall tower supports through the base or into reinforced sockets; decorative roof cones should never carry the main structure.
Cut window openings while the wall panels are flat. Use several light knife passes on a protected surface, rotating the card rather than forcing a tight turn. Keep an adult’s fingers out of the cutting path. Leave a rear access panel removable if you plan lighting. A simpler alternative is a shallow open-backed facade with a pair of sturdy boxes supporting the tallest towers.

3. Layer the golden windows and pale tracery
Back each opening with warm translucent paper. Add a second dark paper layer with the pointed window shape, then a thin pale frame where the reference shows one. For the central rose window, start with an orange circle and arrange simple yellow petal shapes around a small center. Keep it recognizable from normal viewing distance rather than chasing microscopic detail.
Use tiny glue dots around the edges so adhesive does not cloud the visible glazing. Allow each assembly to dry flat before attaching it to the shell. If thin tracery tears, cut broader strips or combine several shapes into one sturdier overlay. Printed window patterns on translucent paper are an easier alternative; test your printer’s material compatibility first. My miniature stained-glass guide compares tissue, printed film and other faux-glass approaches if you want to explore the windows further.

4. Raise the pink spires and tiled roofs
Roll lightweight card into cones for the pair of tall spires. Make a separate support sleeve inside each tower so the cones can be removed during handling. Cut short rows of overlapping pink and plum scales, starting at the bottom and working upward. Keep the two spires related in height and color rhythm, with the same narrow dark tips as the showcase.
Fold pitched roofs for the lower gables and add coral edging sparingly. Dry-fit every roof before gluing; an overlong eave can cover the top of a window. Let glued rows settle before adding the next layer so the cone stays straight. For a simpler finish, use long scored roof strips instead of individual scales while preserving the same silhouette and alternating colors.

5. Give the porch its grey frame and orange door
Build the steps from stacked card rectangles, checking that each tread stays level. Wrap their exposed edges in grey paper. Assemble the porch as a separate small unit: orange double door, grey pointed gable, pale tracery overlay and a tiny orange flower above the opening. Attach it only after the stair height and doorway clearance agree.
Make pale railings from wider card strips than you think you need, then refine them after a dry fit. The reference’s porch is delicate, but a slightly sturdier handmade version will survive moving to a shelf. Use folded amber paper lanterns on simple brackets as a non-electrical option. Leave the windows and lanterns unlit until any optional lighting is fully installed and checked.

6. Curl the two ribbon trees
Bundle long strips of orange, cream and teal card around a firm folded-card trunk. Leave their upper ends free. Curl those ends around a smooth brush handle, release them and adjust the loops before gluing small contact points. Build the left crown in green and cream, then give the right tree its coral, teal and purple variation.
Work on each tree separately so you can turn it without hitting the castle. Add a broad hidden root tab or socket for stability, and dry the glued trunk completely before mounting it. Avoid attaching a heavy crown to one narrow strip. An easier version uses fewer broad curls; the open branching pattern matters more than the number of loops.

7. Plant the courtyard and define the fence
Make conifers from folded triangular paper shapes and flowers from tightly rolled strips with gently opened outer edges. Group the warm blooms near the roots and porch, leaving the stairs and central path clear. Dry-fit the black fence in short removable sections before fixing its posts to the base.
Keep optional purchased miniature flowers and vases separate from the paper method: they can furnish a little courtyard corner if their proportions suit your version. They are not required to recreate the rolled flowers. Use a restrained number so the mixed materials do not overwhelm the paper texture.

Leave small patches of the base visible between plants. Those gaps help the striped trunks, fence and steps remain distinct. You can add a tiny book or vase behind the doorway as a private story detail without filling every empty surface. Mina would appreciate a place to put the invoice.

8. Suspend the bats and finish the color edges
Fold bat wings from colored paper, add simple contrasting bodies, and suspend them on fine thread from an independent overhead bar. Arrange a few at different heights, keeping the largest away from the central spires. Paper moons, stars and lanterns can share that support. Nothing should hang from the castle’s delicate tips.
Touch up exposed white edges with a matching pencil or a nearly dry brush. Keep most paper matte. If you want a small glossy accent, test Vallejo gloss varnish on an offcut of the exact paper, ink and adhesive first, following its instructions. Skip it if it warps, darkens or stains the sample. A clear acetate window overlay is a simpler way to add a little sheen without coating the walls.

Allow any finish and glue to reach the handling condition specified by their manufacturers before moving the model. Lift the rigid base with both hands, not the trees or towers. Store loose bats separately so their threads do not snag the roof. The glossy option is just that: optional, and best restricted to a few details rather than the entire paper scene.
Photograph the color without losing the castle
Use a blue paper sweep behind the model and one broad diffused light from the side. Place a white card opposite to soften the deep gaps between towers. Position the lens around doorway height, then step back enough to include both trees and the tallest spires. Keep the overhead support beyond the frame while leaving enough space around the suspended bats.
For close-ups, isolate the rose window, porch and left tree. Move the light rather than forcing more brightness into the windows; overexposure can turn the orange and yellow into blank white shapes. If optional lights are fitted, make one exposure with them off and another with them on. Choose the version that shows the paper textures clearly.

A few repairs before the gates open
If the base bows, reduce moisture in later glue layers and dry new laminated parts flat under a protective board. A badly warped base is easier to replace before planting.
If a spire leans, check its internal sleeve and support rather than hiding the problem with extra roof scales. A straight structural core makes a better repair than a decorative patch.
If window paper wrinkles, use less adhesive around its perimeter and let it dry flat. Try a sturdier backing on a spare opening before changing the finished facade.
If tree curls collapse, shorten the unsupported strips or use slightly heavier paper. Add discreet contact points between neighboring curls instead of saturating them with glue.
If the display looks crowded, remove a few bats or flowers. Preserve the clear sightline to the orange door and the gap around the central rose window.
Closing: Until Next Time in the Small World
I keep coming back to those joyful colors against the Dracula-inspired silhouette. The architecture still offers its pointed windows and towering spires, but the garden has clearly negotiated its own terms. Which detail would you make first: the ribbon trees, the rose window or the bats with very strong opinions about their wings?
Share your own paper experiments with #smallworldminiatures. There is always room for another improbable little address, and I would love to see what you put behind its door. Just remember to warn the Count before presenting the invoice.
Visit the Small World Miniatures shop for more small-world discoveries, and look for the newsletter signup on the website if you would like future miniature inspiration.








Comments